You will need
- - computer with Windows.
Instruction
1
First, you need to enter the BIOS menu. To do this, immediately after turning on the computer (once the system starts to load) press the Del key. On some models of motherboards is this key can be used different. Read more to learn with what keys you will be able to access the BIOS menu you can from the manual to your motherboard.
2
After opening the BIOS you need to find a menu where you can see the list is integrated into the motherboard devices. On different BIOS versions this menu may be in different sections. The title of this section may also be slightly different. You should focus on the one that Intergrated the word, that is "Integrated".
3
Also find this section can help you with the manual to the motherboard. In it, find the section describing the BIOS menu. If you are after buying a computer, updated the BIOS, the user manual may not coincide with its updated version.
4
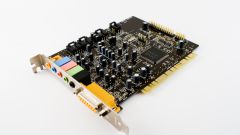
Once you find a section with integrated devices, you'll need to find a sound card. Most likely, this line is called Sound Card. In this case, you need to focus on the word Sound or Audio. Opposite to this row there is a model name built-in sound card. Select this device and press Enter. Then select Disabled, which means Disabled.
5
Now you need to exit the BIOS and save the settings. To do this, choose Save and Exit. On older versions of the BIOS when you exit, a dialog box appears with a request to save the settings. Just press Y, and then your computer restarts and built-in sound card will be disabled. If for any reason you will need to re-enable it, for example, in case of breakage selectable, then change the Disabled value to the value Enable.


