Instruction
1
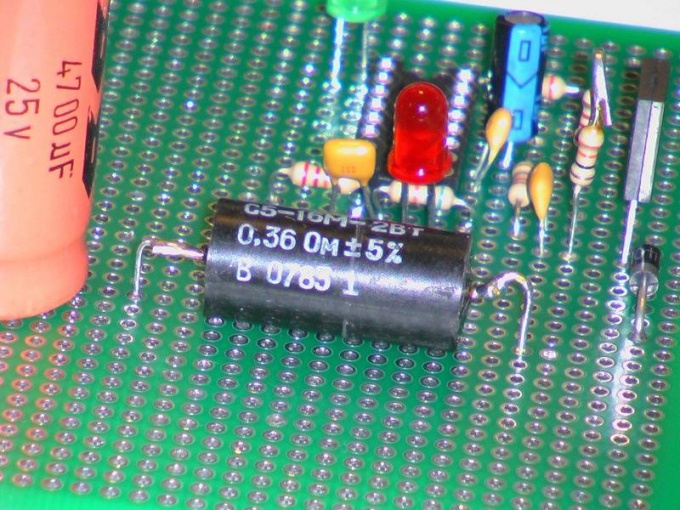
Examine carefully the scheme or documentation to determine how to connect the resistor in this particular case. As mentioned earlier, it can perform two functions: a source of variable resistance and the potentiometer. The documentation should be provided a variable resistance in the connection. It is best to determine the number of thumb, using a special measuring device. So you will be able to more accurately pick up a variable resistor or some equivalent.
2
Take an ohmmeter to measure total resistance in the circuit. Connect the terminal on the closing contacts. The resistance value should be reflected on the screen. Then measure the resistance at a particular node schema. If no value is reflected, then a connection somewhere is broken.
3
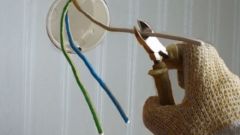
Carefully inspect all contacts. If needed, connect them to any metallic wire. More reliable connection you provide when you soldering the resistor. Depending on the received values, choose a suitable resistor. Proceed to its installation in the scheme.
4
Wipaire old broken-down resistor. Try to make the solder residue does not fall to the circuit to avoid circuit of neighboring contacts. Then take a new resistor of variable resistance. Solder it just like you just extracted.
5
Follow the same precautions to prevent the formation of bridges between contacts. Turn on the circuit, check its efficiency. If it does not work or works incorrectly, peredayte resistor. Some resistorAh foreign-made contacts can be a little different. Swap the center pin with either of the extreme. If it did not bring the expected results, check the device for faulty new resistor.