
You will need
- - screwdriver with a cross tip;
- - a small mirror.
Instruction
1
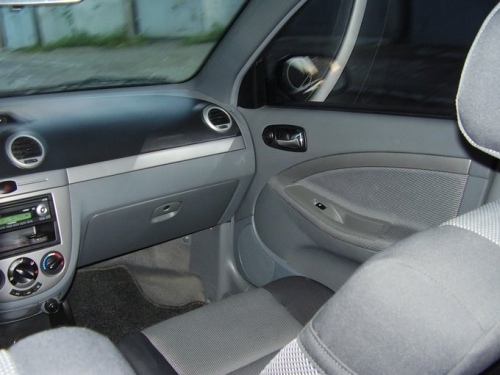
Open the glove box and using a Philips screwdriver, Unscrew the five screws that secure it to the vehicle body. Then carefully pull the glove on and disconnect the two electrical connectors that are suitable from backlight lamp and its switch.
2
Grab a small mirror and gently run it in the formed opening. This is necessary in order to quickly detect the heads of the four screws that fix the hatch filter. Using a screwdriver the desired length, remove these screws and set them aside.
3
Remove from car interior floor Mat and remove the hatch. Grasp the filter and pull it all the way to the floor. After that try to put pressure on his side so that he took a shape close to a parallelogram, which will allow you to easily remove it from the hole.
4
If you just want to clean a dirty filter, be sure to remember or mark its orientation. During installation take care not to exert excessive force to avoid damage to the linings, which are made of foam, so give the filter the same form as when it is ejected. When installing the cover please note that in addition to the four holes there are two more, which are intended to be guides in the housing. To avoid confusion, try again to use the mirror.
5
Turning the screws, be careful not to damage the plastic. To verify correct installation of the glove box will fix it slightly, without tightening the bolts. Look closely at the gaps in the opening panel, which should be straight along its entire length in the closed glove compartment. If so, then finally, fasten the design. Otherwise, loosen screws and align drawer by lightly moving in the right direction.