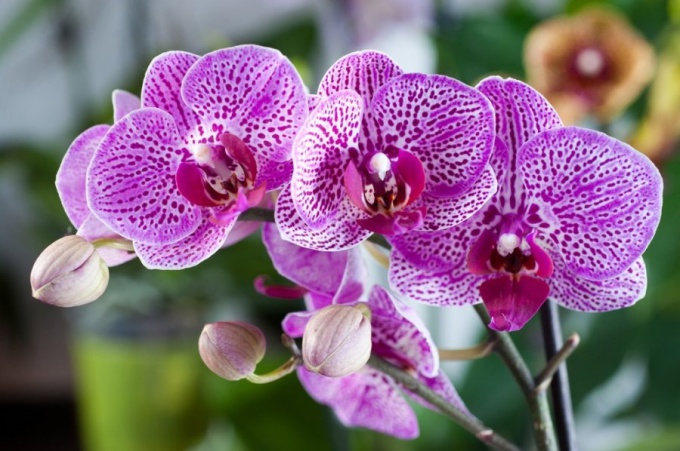
Phalaenopsis Orchid repot only when absolutely necessary, usually 1 every 2-3 years. If possible, this procedure is best to replace the partial change of the substrate or handling. It is important to remember that a transplant is highly undesirable to hold during the period of flowering and dormant plants.
When do I need to repot Phalaenopsis Orchid?
Transplantation is often necessary plant, which was acquired in a flower shop. It is the decomposed substrate with moss, peat and pieces of foam. All these components hold moisture is detrimental to the root system of the orchids.
Another reason to repot Phalaenopsis, the disease plants. After treatment of the root system it is necessary to prepare a new substrate. But if the Orchid cramped in its pot, then you need to choose a new one and transplant a flower.
How to choose the right pot for Phalaenopsis?
The roots of Phalaenopsis orchids are involved in photosynthesis, so plants it is desirable to choose a transparent pot with lots of holes. Often, however, this use of natural materials: half of a coconut, a piece of bark, cutting of a fruit tree. Phalaenopsis will take root, but will have little to change conditions. In nature this Orchid grows on trees.
Experienced growers and admirers of Phalaenopsis using baskets of wood and bamboo. It is better to choose bamboo products as to their walls, the roots do not grow in the future the plant will be transplanted.
What should be the substrate for Phalaenopsis?
As soon as a container for transplanting Phalaenopsis orchids, you need to decide on substrate. In flower shops you can buy ready-made substrate. When you choose you need to remember that it should not decompose for 3 years, to be airtight and hygroscopic. It can be assembled independently, combining charcoal, sphagnum moss, expanded clay and pieces of bark. Some growers plant Phalaenopsis Orchid in bark only.
How is the transfer of orchids?
Transplanting Phalaenopsis carried out in several stages:
1. Take out the plant from the old pot and free the roots of the old substrate. Carefully inspect the roots: healthy, dense, green and elastic.
2.Shears cut all the dead and rotten roots, the cut needs to be dried and grinded charcoal. If the plant has few roots, it can be treated with a dry rooting stimulant.
3. The soil before planting wetted and drained the water so it was damp, but not wet.
4. On the bottom of the pot put a crust of the coarse fraction, it can be replaced or expanded clay pebbles. Then set the plant and cover the root system. This must be done carefully so as not to damage the roots of the Orchid.
5. In the pot there was no void, you can tap on the walls. It is important to remember that in no case can not bury the neck, it can cause it to rot, the plant will be difficult to save.
6.To provide a comfortable environment, on top of the soil put a small layer of moss. Plant after the transplant, do not water for 2 weeks.
Transplanting Phalaenopsis orchids is hard work that requires accuracy. First, you need to choose the right pot and prepare the substrate, and then the plant itself. It is important to check all the roots and remove the dry and rotten, otherwise, weakened after transplanting Orchid will start to hurt.


