
You will need
- - A set of sanitary pads;
- - Allen wrench;
- - screwdriver;
- - FUM-tape or tow.
Instruction
1
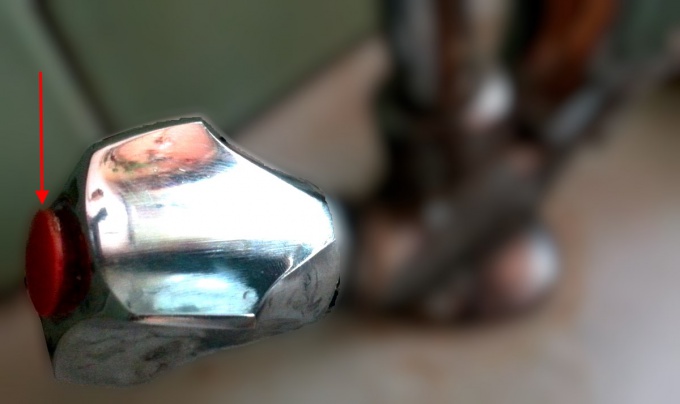
First turn off the water. Then, place your screwdriver in the plug of the valve handle and pull it out. Normally stubs are not glued, just inserted tight, and fairly easily removed.
2
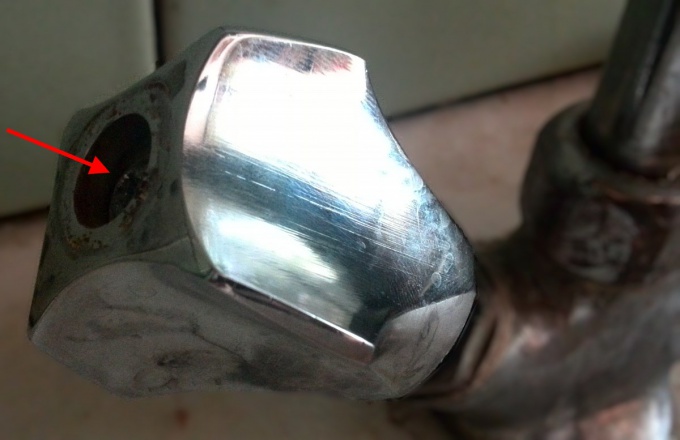
Now Unscrew the screw that attaches the valve handle to the valve.
3
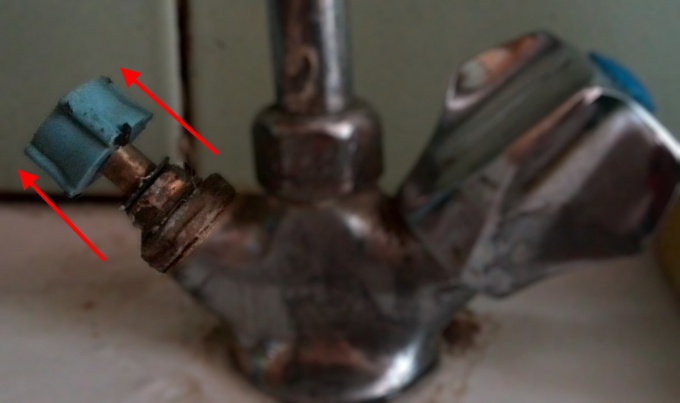
Remove the locking handle of the faucet by pulling it up.
4
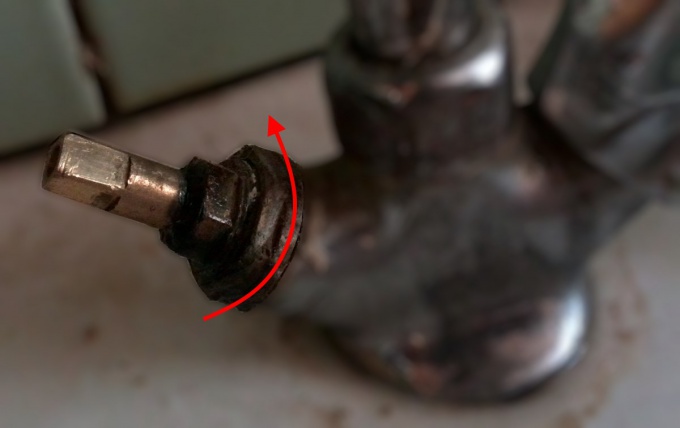
Using a wrench Unscrew counter-clockwise the valve. Turn over the widest part of the hexagon. A small hexagon is intended for disassembling the valve, do not touch it.
5
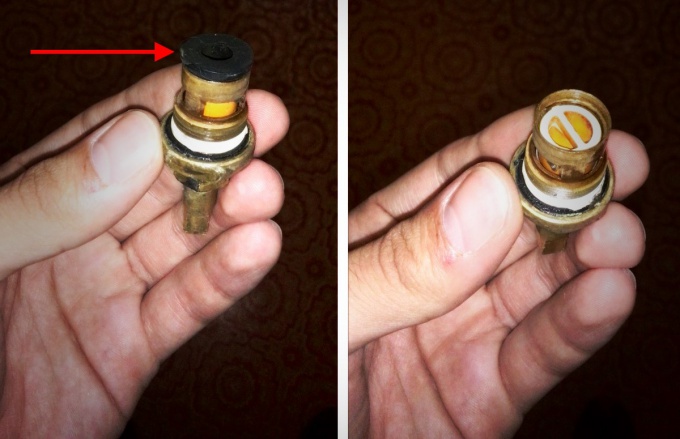
When you remove the valve and get it out of the mixer, we see approximately the same construction as in the illustration. Inspect mixer: perhaps some part was left in, for example, the sealing gasket or adjustment ceramic discs. In this case, gently pull it out. Remove the remains of a FUM-tape or tow with the valve. Rinse and clean the valve of dirt. Insert the ceramic regulating disks into place.
6
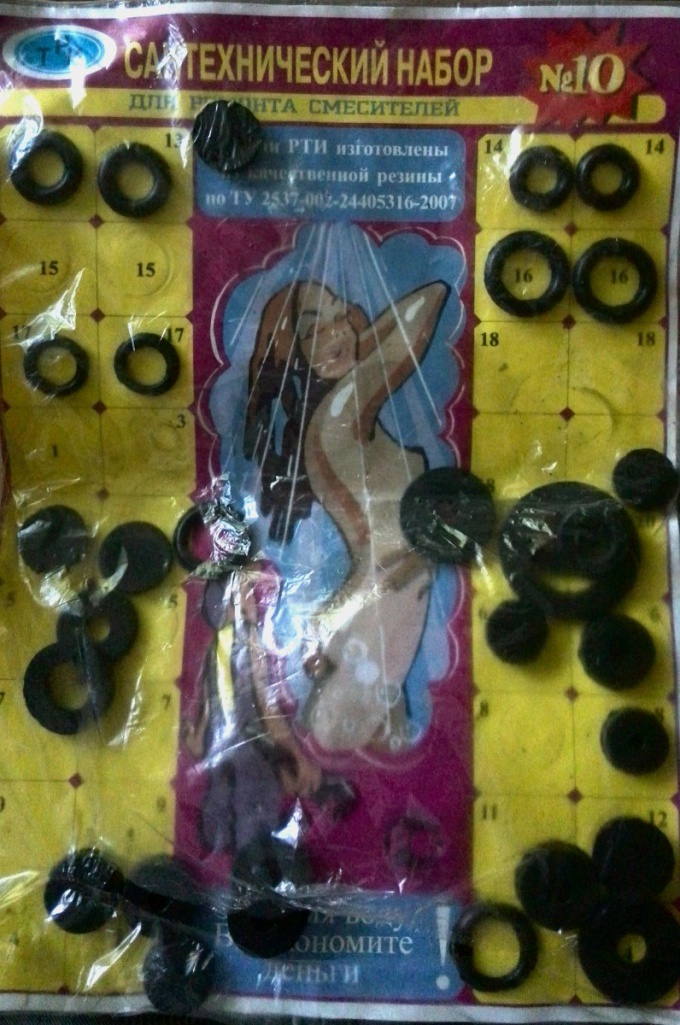
It is convenient to have handy plumbing kit with a selection of gaskets of different diameters and configurations. Find the set and buy the gasket and replace the old with the new. Now you need to carefully wind the threads of the valve, fluoroplastic tape, insert the entire assembled design to the mixer and screw tightly with the wrench.
7
Now make sure that the faucet is not leaking. Restore the water supply and see that it is not a leaky faucet and no leaks at the connection of the valve with the mixer. Try turning the knob to make sure that the faucet is normally opened and closed. If all is well, fit the handle on the tap.
Useful advice
If after assembling there was some kind of leak, then you are either poorly secured gate, or poorly installed gasket, or the adjusting discs have warped. First try to tighten the valve key. If does not help, remove the valve and check that all the components in their places. Remove FUM-tape, wrap it in a new way and then re-tighten.