Instruction
1
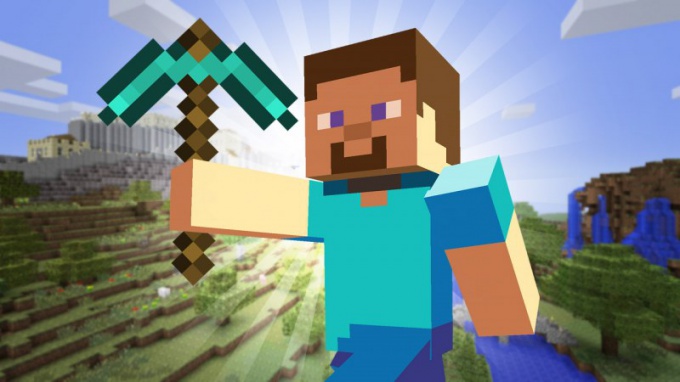
Create your own Minecraft skin using a special utility MC Skin Editor, which you can find on the Internet. Texture for him, you can also find online or do it directly in the program MC Skin Editor. If you want to save time or doubt their capabilities, you can download pre-made skins in png format from the Internet.
2
Install skin one of the available methods depending on your version of the game. If you are using a licensed copy, just go to the official Minecraft site and upload the image via the appropriate tab. Users of modified versions you need to install the Java Development Kit and a program for decompiling Minecraft. First remove the current version of the game from the computer and reinstall.
3
Create on your hard disk a folder called Minecraftskins. Put decorrelator and create an internal folder Jars. Go to the directory with the established game. Copy the Bin folder and paste the copy into Jars. Run Decompile.bat and wait until finish the process of decompilation.
4
Find java files in the folder Minecraftskins under the names EntityOtherPlayerMP, and EntityPlayerSP EntityPlayer. Edit them using Notepad by changing the default Internet address on your own registered for the game. Save the changes.
5
Generate serial run files recompile.bat and reobfuscate.bat. As soon as the required operations, using the open file archiver Minecraft.jar located in the Bin folder and copy the three file you created from the Minecraft folder, located in the folder Reobf. Delete the folder META-INF. Now when you start the game can automatically download new skins using the address you provided.