Why Mini-DV
Although the film today is not in fashion and goes by the wayside, she still remain fans. All the flaws compensates for relatively high image quality. This is especially true of home video cameras with high resolution. After accumulating a sufficient number of mini-DV tapes, people think about their digitization and subsequent storage on the flash drives, DVDs and hard drives. If the information is very important, it duplicates on all possible media. The digitisation process is not so complicated. First, with the help of special software and hardware for copying videos to a computer, and then it is processed and squeezed to an adequate size. To cope with this problem can anyone refer to a special office is not needed.
What you must have from devices
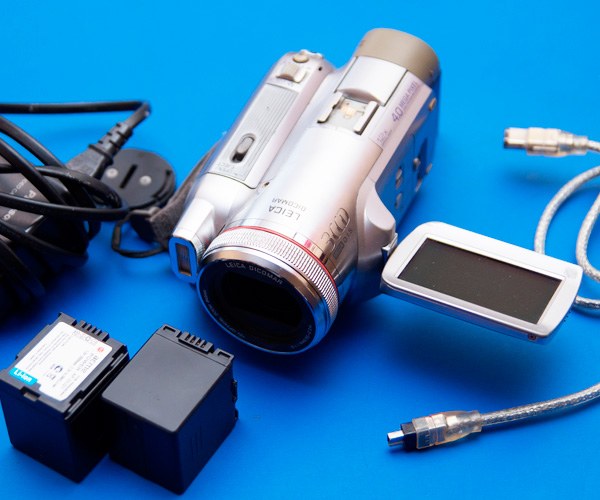
To digitize video from mini-DV tapes, you need the following tools. First of all — the video camera that was recording. The computer must have an IEEE 1394 input. It should be mentioned that it is not on all motherboards, but it does not matter, because you can buy the fee at a computer store. Just come there and tell me you need Board FireWire or i-Link are different names for the same device. It costs from 100 to 300 rubles, and the kit needs to be special cable for the connection. Cable can go with the camera, be careful.
Purchasing fee, insert it into the motherboard, in a free PCI slot. If it is difficult to do, better ask someone who knows best. Although nothing complicated here — do it when the computer is off, the Board is unlikely to fit anywhere else. Cope with this, plug the small end of the connecting cord into the camera, wide - in charge. Put the camcorder on charge or pre-charge the battery. Turn the camera on and select the Play mode/Edit.
What are necessary programs on the computer
When we have everything ready in terms of devices, the camera is connected to a charger and the computer with a special cord, it's time to move to software. In General, the function of digitizing the video can handle many programs. Here are some of them: AVSVideoEditor, Adobe Premiere, Stoik Capturer, VirtualDub, Pinnacle Studio and others. Of them all, perhaps, is to provide a program ScenalyzerLive. Because she is easy to handle, performs the necessary functions at 100%, is lightweight, and nothing more is needed.
Ready video files created using ScenalyzerLive will weigh not so little, on 60 minutes somewhere around 13 GB. Prepare free space on your hard drive in advance. To convert them to a smaller size without visible quality loss using the program Any Video Converter — excellent program for converting video to different formats.
The process of digitizing using ScenalyzerLive
Connecting the camera to an IEEE 1394 slot, the operating system should detect the camera. Run the program ScenalyzerLive. First, you need to specify where to store the video, do it. Further to the left in the program window you will see a menu control tape. You can use buttons to do a rewind on the camera in the beginning, the end, pause, stop, etc. If your cassette is not at the beginning, scroll it to the left until the end. Then look at the bottom of the window closer to the center of the Capture button. Click it and you will see how the focus of the programme appear frames. And will be played in real time the video itself. Please wait while digitizing video. Will have to wait in real time. If you recorded 60 minutes, and will have to wait 60 minutes. There is no other way.
Compressing videos using Any Video Converter
The finished video files will need to shrink them to less weighed. So run the program Any Video Converter, click the Open Video File (or Add Video Files depends on the version of the program) and select the desired video file or a file group. In the end, the programme will form a list of the files that you want to pinch. On the right side is a panel with prepared formats, you can choose something to your taste. For example, select Customized Avi Movie, then select video size, quality. The movie options select the desired codec, for example xvid. Set the frame rate will approach 25 or 30 frames. Can configure audio settings. Now click on the "Convert!" (“Convert Now!”), which is located to the upper center of the screen. The final result of the digitized video can be found by clicking on the button in the lower left corner of the screen, Any Video Converter, “Media Manager”, or by opening the directory, you have yourself to save video files.
You have learned the complete process of digitizing video from mini-DV tapes and now can create your video in unlimited quantities, using the same cassette. To store the pinched files, as mentioned earlier, use flash drives, DVDs and hard drives.