Instruction
1
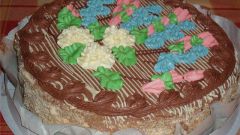
Decorate the cake with flowers, leaves, borders, figures, ornaments or inscriptions. All of these decorations can easily run confectionery syringe with the set of nozzles. The kit usually lay from 4 to 10 different tips. The more, the greater your chances.
2
Before starting, prepare the cream, whipped cream, or drawing a lot. For decoration you can use any cream butter, oil, protein or custard. It can be painted with food coloring or fruit and vegetable juices.
3
Consider the design of the cake, and it is better to draw all the decorative elements on the paper. If the cake is already baked, inspect it - you may need to camouflage some areas.
4
Cover the cake special with fondant, icing or cream. Carefully flatten it all with a knife. The sides of the cake you can sprinkle biscuit or walnut crumbs or grated chocolate. Please note that jewelry very well and kept on smooth horizontal surface. Before you decorate the cake with cream, allow the coating to dry up a little.
5
Using a teaspoon fill the syringe with the cream to ¾ volume. Apply the cream tightly to the bulb syringe is not formed in the emptiness, otherwise your drawing may be ruined.
6
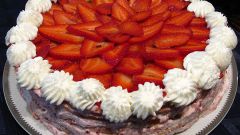
Before you start to decorate a cake, make a sample on the plate. Beautiful borders in the form of frills, which are usually located on the edge of the cake, made by the nozzle with an oblique cut. Nozzle with a wedge-shaped cut is indispensable for the image of various leaves. Letters and patterns draw kineticom a slim-straight tip. Well, the bits with teeth form a cream in the form of flowers and stars.
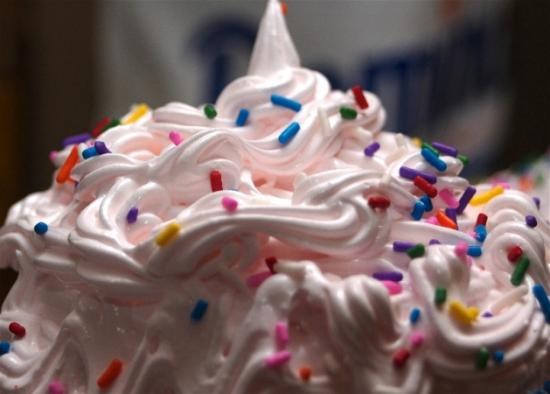
The value of jewelry can vary a pressing force on the syringe plunger. Moving his hand in waves and changing the angle of the fixture, you can make various ornaments using the same nozzle.
The value of jewelry can vary a pressing force on the syringe plunger. Moving his hand in waves and changing the angle of the fixture, you can make various ornaments using the same nozzle.
7
Take a needle or a large needle and mark on the cake the outline of the picture. For convenience, hold the syringe with two hands. Gently glide the tip, adjusting the angle and pressure force. Causing small drawings, hold the syringe close to the surface of the cake, working with large motifs, lift the syringe higher.
8
After the end of the pattern, stop the pressure on the piston and make a sudden movement by the end of the syringe from itself along the picture. Then, the uvula, formed after the separation of the cream, will go unnoticed.
Note
After working with a syringe wash it thoroughly in hot water. Don't forget to wash all the used nozzle.
Useful advice
Note that the relief decorations are very dependent on the structure of the cream. Cream the denser the mass, the more expressive will be the decor. Too soft or too liquid mass may be blurred.