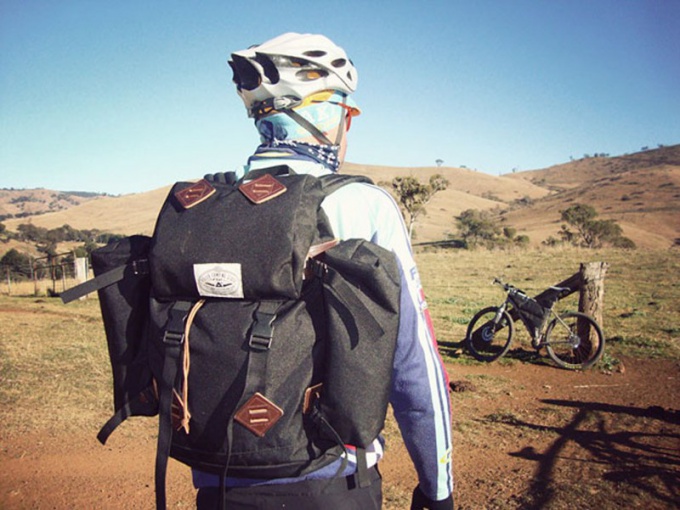
You will need
- pattern backpack;
- - calendared nylon or avizent;
- a piece of nylon or artificial silk for the upper chamber;
- - parachute straps;
- - grosgrain ribbon;
- - tight braid;
- - eyelets;
- - silk cord;
- - zippers for pockets;
- - ball point pen;
- - soldering iron or a device for burning;
- - nylon yarn;
- supplies for sewing.
Instruction
1
Transfer the pattern to paper. If necessary, increase it. Design backpacks are different. Popular pattern sports backpack, consisting of a square bottom, four rectangles – side, square with rounded corners top of the valve. The backpack usually has additional pockets, they can be from one to five, or even eight. The top of the pocket flap on the zipper or button. The pattern can be easier, to consist of one long strip equal to twice the height of the backpack and the width of the bottom, two rectangles of the sidewalls and the top of the valve.
2
Circle the parts on the base fabric. For avizent, the calendered nylon and parachute silk it is best to draw an ordinary ballpoint pen. All sections add allowances of at least 1.5 cm margins should be at least 5 cm. Such a large increase is needed because the stitching will have linen or denim seam.
3
Take of the backpack. It's best to do a soldering iron or a device for a burning out on a metal ruler. Scissors in this case is not suitable, fabric will very much lohmataya. Straps and belt will have plenty of parachute sling, fortunately now you can buy them in a regular store of goods for needlework. The fit and grosgrain ribbon with a width of 5-7 cm, If necessary, can be made of the same materials belt and cross strap that will be sewn at chest level.
4
Mark locations for pockets. All overhead items it is better to sew before you start to collect the backpack. For workpieces pockets better to make a pattern from cardboard. Detail should be slightly more reserved, because pockets need a roomy. Overlap the fabric on the template, bend the allowances on the wrong side of them very carefully and zautyuzhte. The pockets do not have to sew a double seam.
5
For each valve will take 2 parts. You can strengthen them with adhesive interlining. Billet fold right sides together and stitch, leaving an unsealed edge that will be sewn to the backpack. The allowances of the open edges align, trim, finish with a serger and zautyuzhte on the wrong side. Baste the pocket and flap to the right of the backpack. If the valve will be closed with a zipper, the order is slightly different: first zautyuzhte allowances and the valve pocket, then vsheyte the zipper, and then baste and pristrochite both items to the backpack.
6
To the part of the backpack that will fit the back, baste and pristrochite straps. It is better to sew them diagonally, crosswise, securing the corners and the intersection of leather or calender plates. As all the details of the backpack, sew webbing nylon thread.
7
Baste the cut valve to the upper cut parts with straps. If the valve will be fastened to a zipper, it also needs to sew before to collect the backpack. But you can do the clasp and on the metal buttons, and buckles. Some backpacks flap opens and a zipper, and buckles. In the latter case, parachute straps cover the whole backpack is sewn to the flap under the strap to the bottom and about half of the part that is the Central pocket. Slings should be placed symmetrically. The free ends have a length of 30-50 cm.
8
After all of the invoices items will be sewn, you can begin to assemble the backpack. The procedure can be anything, but need a double seam. For example, you can use the following. Align the cut parts so that one seam allowance was 1 cm longer than the other. Sostrochite seam. Fold the free long edge of the seam allowance and make a second line at a distance of 0.2 cm from the fold. Other options are possible seams.
9
Fold the top edge of the backpack and hem. Put the grommets. To the lower edge of the binder can sew an additional camera. It is a tube of nylon or silk. Its height can be any. The upper edge of the hem. Insert the two cord in kulisku camera and through the grommets. You just have to sew the strands to the straps.
