The types of self-leveling floor
All screeds can be divided into two types: polymer finish coating and levelling screed, which differ in the method of laying the floor. It should immediately be noted that the screed is a dry sand-cement mixture to which was added various polymers. In essence, self-leveling floor made from a levelling screed is the only basis under linoleum or other floor covering. Basically screed is used as leveling the floor in offices and residential premises with medium load.
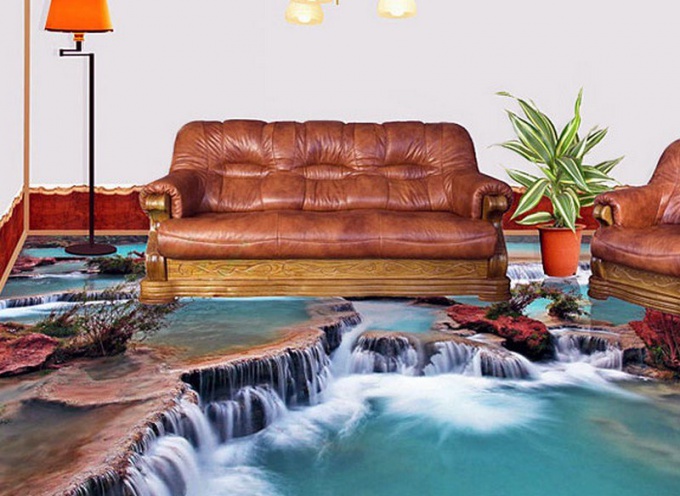
But liquid polymer flooring is a material created on the basis of components such as polyurethane, epoxy and others. These mixtures are applied by means of dispensing and used to create a final top layer of flooring. Polymer floor has a high wear resistance and durability despite the fact that its thickness can be only few millimeters.
Production technology of liquid mixtures allows to create not only a mixture of different of colors, but polymer floor with the addition of glitter, which creates additional decorative properties. The most common polymers that are used for leveling floors is epoxy and polyurethane substances. With it, experts say that polyurethane has greater elasticity and therefore a long service life. As for the epoxy floor, it is unstable to temperature changes and therefore can not be used in unheated areas.
In addition, self-leveling floor can be made of acrylic cement mixture. But stacking technology polymer acrylic cement floor requires the use of dry construction mixtures.
Thus, the liquid polymer flooring is the finishing layer of the floor, which has a number of positive properties. First of all, it should be noted the fire floor filler. And yet, self-leveling polymer floor is: integrity, simplicity of maintenance, ease of installation, moisture resistance, strength, reliability, durability and an original appearance. An important advantage is the fact that epoxy flooring is easily repaired. In addition, the polymer mixture is an environmentally friendly building material that can be used for decorating the floor even in the nursery.
To start working on fill you need from the far wall and move to the exit. This will prevent from changes in the thickness of the liquid layer. In addition, experts recommend to fill the room at a time without stopping.
Technology of laying of floor filling
Today, even the smallest apartment can be equipped with self-leveling floor. And this advantage, of course, can not attract buyers. It is worth noting the positive opinion of specialists about liquid polymer flooring as a great design solution for a floor covered loggias and insulated balconies.
So, for self-laying floor filler, you will have to stock up on some tool, and act in several stages. Initially prepare the surface of the floor, then slide the fill and allow the floor to dry. Here, in fact, the whole process, but there are some little nuances.
Pour half need on a properly prepared base. The preparation phase of the framework implies a preliminary work, namely cleaning of the old flooring (linoleum, laminate, tile, etc.), removing baseboards, and if necessary – interior doors.
Then from the floor surface to remove adhesive residue, concrete and soluble mixes. You can use the sanding machine or a special wire brush. Open all possible V-shaped cracks using a scraper. Check the levelness of bases and if the gaps exceed a few millimeters – maximum level the surface. If the walls are covered with old plaster, that it should be removed from the floor level by 20-25 cm then on the wall to mark the height of the future floor filler.
Next, the prepared subfloor should be thoroughly cleaned of all debris, including dust, using the powder to degrease the surface. Then, using adhesive putty, you need to handle all hollow the cracks and gaps. Immediate pouring of the floor starts only after the finished ground.
Pour half of better together: while one pours the mixture, the second prepares the next portion of the solution, thus providing continuity and good quality of the future of sex. To the polymer mass were distributed evenly, use a wide spatula, trying to maintain the thickness of the layer. Experts recommend, from time to time of laminating the surface with the spiked roller that helps to remove the air, accidentally fell into the mixture.
To correctly check the levelness of the floor, experts recommend the use of a two-meter rack.
Don't forget that fresh coating self-leveling floor can harm direct sunlight, drafts and sudden temperature changes. In this regard, while the polymeric mixture will not harden, should take care of creating the appropriate conditions. In that case, if you used a polymer compound, and a coupler, which will be putting the base coat, observe certain time limits for the laying of the top layer. So ceramic tile can be laid on the base just three days later, and hardwood flooring – in a week. The newly applied polymer coating dries in 6-12 hours, after which it is already possible to move.