You will need
- -yarn of medium thickness;
- -needles according to the yarn thickness;
- -the product that you want to decorate.
Instruction
1
The ruffle is knit in several ways. Detail can be linked separately and sew or tie to the product. They can be a continuation of the product. The first method is good, for example, for knitting oblique or transverse frills of the skirt, to finish the yoke, etc. the Second method is better to knit the bottom ruffle of the skirt, finish the sleeves and neck. Crochet extra strips that will be sewn to the product, calculate the number of loops. It must exactly match the length of the region to which you are going to sew the trim.
2
Provarite the first row of purl loops. In the second row, remove the edge, then loop from 1 provarite 2 or 3, depending on how lush ruff you need. 2 loops of one knitted by using direct or reverse nakida. To link to direct yo, throw a working thread on the right needle enter the needle into the next loop and pull the thread. To purl 3 stitches from one, first enter the right needle into the loop, then do the yo, re-enter the needle in the same loop and pull the thread.
3
Second row knit one purl. Provarite hosiery knitting a couple of rows, then close the loop in the usual way. If you need Ruche wider, before closing provarite another 2-4 rows respectively on the obverse or reverse loops.
4
To handle sleeves or neck is more suitable Ruche, which is not sewn, and nazvanivaet. Tie detail to the desired length. Straight spokes are finished purl row. Flip the work and provarite of each loop 2 or 3, as in the first method. The following rows knit hosiery knitting to the desired width of the ruff. Close the loop.
5
If you want to upgrade the finished product with the help of ruffles or flounces, dismiss the last row of sleeves or neckline. Insert the needle all the loops and knit a couple of rows in the usual way. Then add the loops exactly the same as for separately linked Ruche.
6
It may be so that the edge of the product to dissolve will not succeed. For example, if it knit from the top, and you are going to handle the neckline. It is possible that the sleeve was knit from the bottom, and the edge is also gently to dissolve. In such cases, the edge of the best neatly trimmed. Pull the thread, which in this case are separated, then insert needle in loop. Further Ruche fit as well as in all other cases.
7
If the edge is thin and stretchy, Ruche is possible to add length. Secure the thread at the beginning of the edge (usually a seam), insert right needle under the first loop and pull the working thread. The rest of the loop, dial in the same way. Loop dial on the front side. May be, of each loop edge will need to pull 2 or even 3 loops. This should not discourage you, it all depends on the thickness of thread and the place you're going to add length. Make sure that the edge was not too tight.
8
Typing loop to the end of the row, proverite the wrong number, then increase the number of loops, povezav in each yo loop or Viveza 3 from one. Continue and finish the Ruche similarly, as described in all other cases.
Useful advice
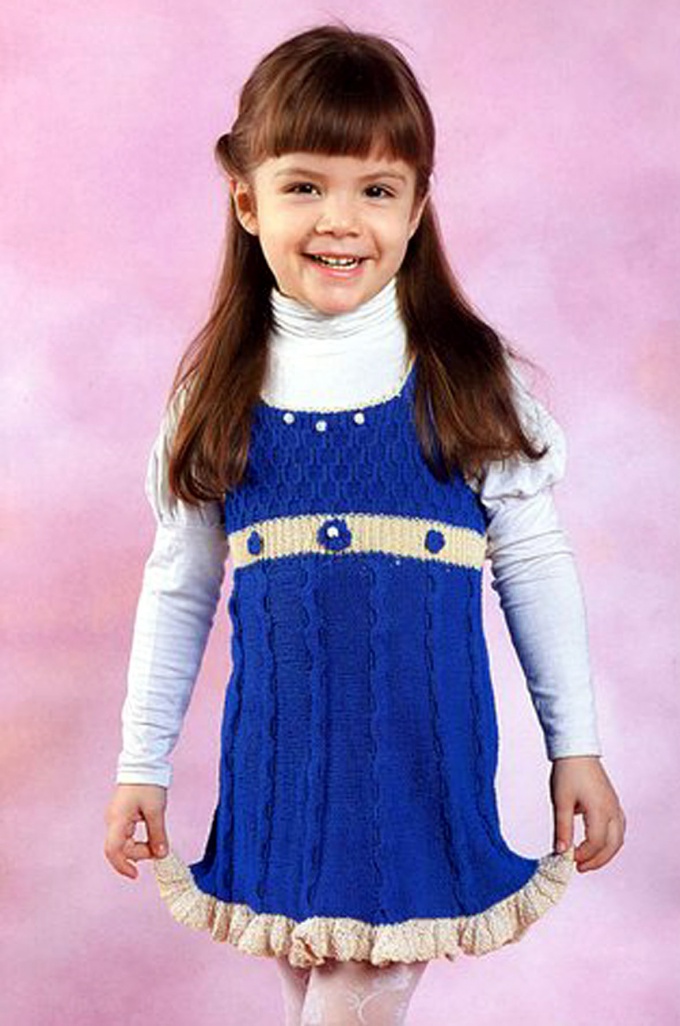
For children's clothing Ruche is better to make a less lavish. Typing loop stitches and provatas 1 row of purl stitch then knit according to the scheme: 1 front, 1 yo.
For finishing baby clothes knit ruffles of slightly thinner yarn. For example, if you have thin hair in 4 addition, to make a Ruche on 1 addition less.
For finishing baby clothes knit ruffles of slightly thinner yarn. For example, if you have thin hair in 4 addition, to make a Ruche on 1 addition less.