Instruction
1
Before sewing, remove all of the necessary measurements. You will need: head circumference, the width of the visor, as well as the diameter of the bottom.
2
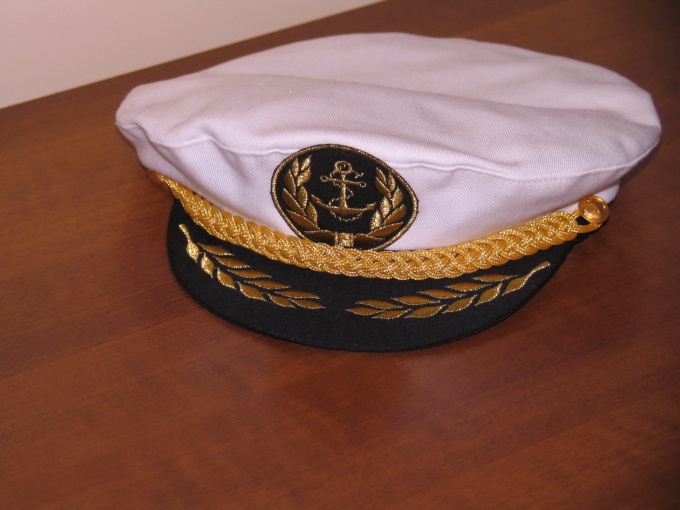
The cap will consist of the following parts: main oval at the bottom, 4 parts of the wall of the cap, the cap band and visor. For your visor you can choose the fabric in the same colour as the cap or in a contrasting fabric. To prepare the ribbon edging and the strap that you tie on top of it.
3
For withdrawn standards, and the desired dimensions of the cap complete the following details: oval bottom, lining and gasket for it, the top, the wall top and gaskets, and visor, lower visor and the gasket for the visor.
4
Fabric for sewing pick up cap is not loose, which is not very much stretches or no stretches. It should be thick enough.
5
In order to handle the top of the cap, stitch detail wall top, Ratatouille and trim. After that, scribbled in the region of the front joint soutache. Will need two strips in the form of a triangle. For the triangle you need to plan in advance lines.
6
Visor made of the main fabric fold together with podozerka, right sides inside. Sew evenly prepositive. The visor should fit fit the paper gasket, so before the control connection of the visor to the part again, check for wrinkles.
7
Fold the sides inside the cap, connect all the lining seams, remove the cap on the front side and the cardboard insert between the main band and an additional gasket.
8
Treat nalobnik using a special foot on the sewing machine. Prepare the strap. It can be woven or cut from patent leather. Prepare the holes for the buttons, attach the required badges or emblems.
9
To give your hat a finished look, you need to handle it with a special electroform. After nalobnik cap is rectified, move the hat on a wooden form on which you can iron the parts that were left untreated. And your cap is ready.