You will need
- Adobe Photoshop
Instruction
1
To create the mesh, go to the View Options in the view settings select the grid display (Show Mesh). Specify desired size and color. After confirming the commands to your open image grid appears with the specified parameters.
2
The mesh, if necessary, can be saved. To do this, click on "Save mesh" or "Load grid", if you need to open an existing one.
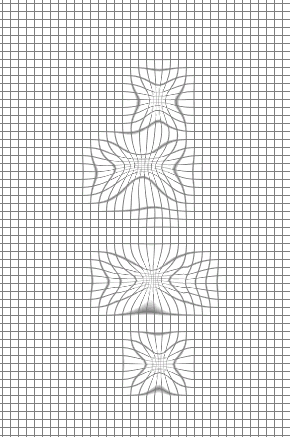
3
The grid can provide substantial assistance in the reconstruction of the image after it has conducted any operations, and it was distorted. Open the tool "Reconstruct", he will want to undo the changes, restore the original appearance of the image or Vice versa to apply the distortion to other objects. In addition, to distort the object section Liquify. The grid will allow you to track changes and distortion in any created object, and you can at any time save the grid with the shape of the converted object, so you can use it on him. Similarly, you can save the grid for normal, undistorted object, to restore its settings after a failed action.
4
The grid will be your indispensable companion if you are working with fuzzy images, which is difficult to capture specific boundaries. It will allow you to more accurately mark areas of certain changes. In addition, if the mesh settings uncheck the item "Show image", you can see distortion on the grid in its pure form.