You will need
- Computer, video card cooler, clock screwdriver
Instruction
1
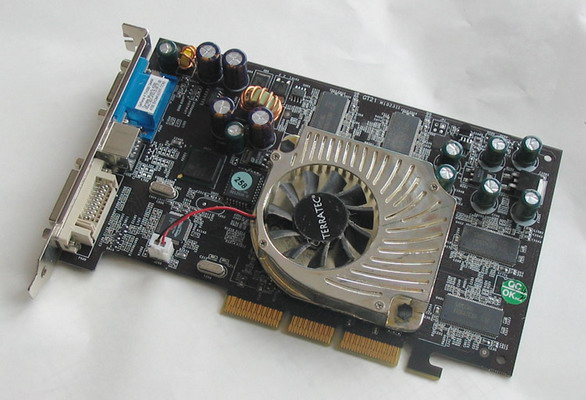
Unplug the system unit from the mains. Unscrew the fastening screws and remove the system cover. Unplug the video cord of the monitor. Remove the screw that secures the graphics card on the system unit. If the graphics card is a separate power wire, disconnect it. Then remove it from the slot and pull it from the system unit.
2
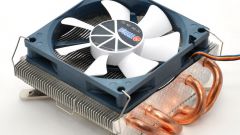
Carefully examine how attached the fan to the graphics card. Usually it is attached with four screws at the corners of its frame. Unscrew these screws using the screwdriver clockwise. If a screwdriver is not available, you can use other improvised means (e.g. a knife). Now that the cooler is disconnected from the graphics card, you need to remove the AC power to him. Simply pull the cord to itself, and remove it from the connection interface.
3
Now you can clean and lubricate the cooler. To clean the fan blades are well suited wet-NAP. In order to lubricate the fan, you need to remove the sticker from the front part. It is on the side of the fan that faces towards the radiator. To confuse you should not because other stickers there. Remove the sticker from the fan. To do this, hook the edge with a razor blade and just peel off. You will then get access to the fan bearing. The bearing drip a drop of machine oil, then stick the sticker back.
4
To mount the fan, first remount the cooler and plug it into a power socket. Then put the VGA card back into the slot and fix it with the screw. If necessary, connect the power to the graphics card.
5
Without closing the system cover, turn on the computer. Check the video card cooler. If you any complaints on the fan no turn off the computer and close the cover of the system unit. Connect to a video card the power cord from the monitor.