You will need
- - a sheet of paper;
- pencil;
- - images of different globes;
- - map of the hemispheres.
Instruction
1
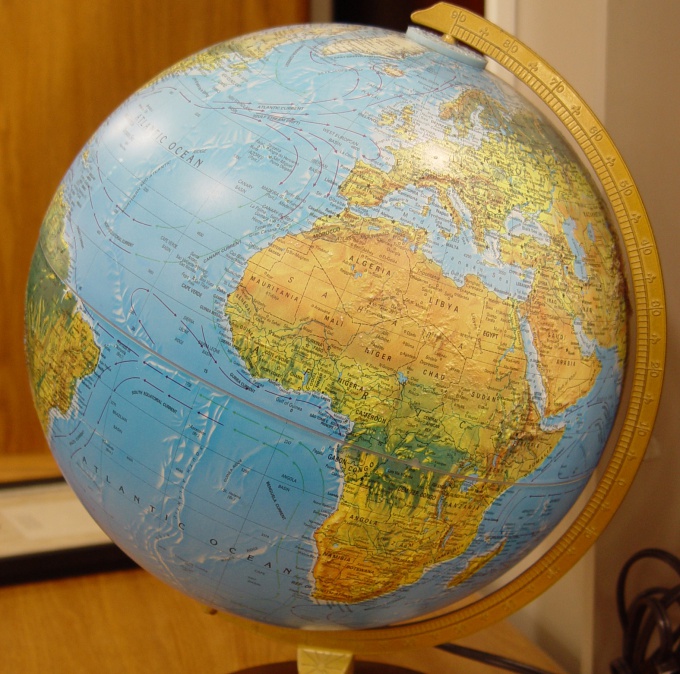
Globus consists of two main parts — the ball and stand with the axis. Modern school globes, tend to make for fairly a simple stand. But on ancient engravings can be seen very fanciful stand of very expensive materials. Before you start to draw a sketch, consider a few pictures with different globes and choose the one you like best.
2
The sheet is positioned vertically, as in the globe with a stand height greater than width. Find the center bottom edge of the sheet. From this point draw a vertical line. It should be perpendicular to the bottom edge of the sheet. Line swipe through the entire sheet with a thin pencil.
3
Define the vertical axis point, which will be the center of the circle. It is located slightly above the middle of the sheet. Draw a circle. It should not reach the side edges.
4
On the circle draw a coordinate grid. This can be done schematically. One line you already have, it's part of a vertical centerline inside the circle. Between her and the circle, draw 2 arcs, outgoing from the points of intersection of the centerline of the circle. The arc should be of different curvature, but to be on equal distance from each other.
5
Through the center of the circle perpendicular to the vertical axis draw the line of the equator. Draw Parallels. They can be in the picture only 4 — two above the equator and 2 below. Divide the distance between the equator and one pole into 3 parts. Help the arc through the point that is closest to the pole. The curvature of it should "look" in the direction of the equator. Through the point which marked the second third of the line, do another arc. Do the same for the second part of the figure.
6
Above the upper point of intersection of the centerlines and the circle, draw up 2 straight lines. They should be on a very short distance from each other. Their length is approximately 1/4 the distance from pole to equator. Do the same under the circle. Finish the axle with two small circles.
7
Draw an arc of which the axis is attached to the base. To do this, axis will retreat from the circle down a little and draw an arc parallel to the circumference. Lead her to the intersection with the upper part of the axis. Start from the beginning of the arc is still a little down on the centerline and draw another arc, a little bit wider. The ends of the arc, located under the circle, continue straight lines parallel to the bottom edge of the sheet. Finish cuts at about the level of the middle to the vertical axis of the Meridian and connect with a straight line.
8
Draw a stand. To do this, the outer arc will deviate from the centerline slightly to the side and draw a straight line down. The same line guide on the other side of the axial. The line must be symmetrical. The length of the lines is approximately 2 times greater than the distance between a circle and outer arc.
9
Below, draw an isosceles obtuse triangle. The top is blunt corner located on the centerline, just above the point of intersection with the bottom line segment of the axis. Side of the triangle is arbitrary, but the lower side should be not less than the distance between near the center of the meridians. Otherwise, the globe will look unstable.
10
Look at the map of the hemispheres and schematically depict on the globe lines of the continents. Draw Antarctica, trying to follow contours. The picture of the continents will be slightly different from what is on the map because the globe has a curvature. But for a picture it is sufficient if the continents are recognizable.
11
Paint the globe. The stand can be completely done in black, yellow or gray. Paint the oceans blue and the continents of the paint as it is on a physical or political maps.
Useful advice
For a stylized globe intended for logos, the outlines of the continents can not draw. Stick to the grid.