You will need
- - thick cardboard;
- - decorative paper or a cloth;
- - PVA glue/paste/BF-6/rubber;
- - box cutter and scissors;
- - the range;
- a pair of compasses;
- - loop for hanging paintings or rope;
- - hole punch;
- - decorative elements or natural materials.
Instruction
1
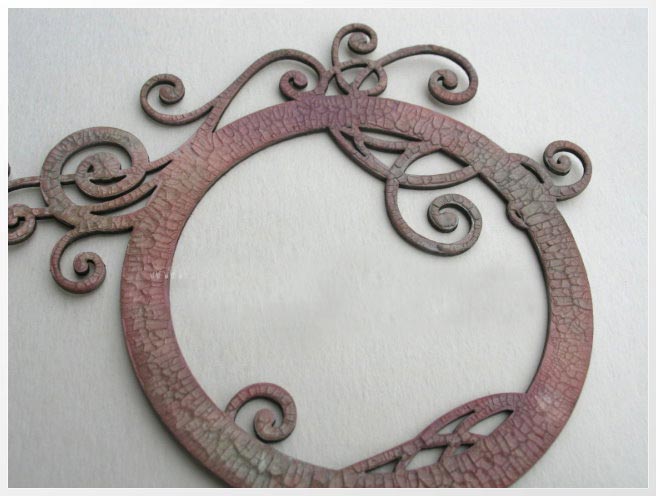
Select the image (photo, drawing, embroidery, etc.) suitable for the round frame, and remove it from measurements. Find the magnitude of the inner and outer diameters of the frame. For images with many small details fit more narrow frame, but for large objects the frame with a wide brim.
2
According to the obtained size, draw and cut out three blanks. The first ring of cardboard, the round-based framework. The basis of the need to hang a beautiful decorative paper or cloth. To do this, from the selected finishing material cut out using a cardboard base frame, the second workpiece – ring allowances for the hem on the outer and inner edge. Will look good frame, plastered snow-white drawing paper or plain cotton cloth. Choose a finish that is appropriate in style and highlighting the image placed in the frame.
3
To glue a cardboard base, make the workpiece of decorative paper or fabric of a notch – mark allowances around the circumference of the small teeth. This will allow exactly to tuck paper or fabric along the rounded edge of the frame. If the fabric is elastic, it is possible to do without nasechek – and so it will fit the frame shape.
4
From cardboard cut out a third workpiece is a substrate for the image – a circle with a slightly smaller (a few millimeters) in diameter than the external diameter of the frame. On top of the details make the substrate semi-circular notch on the size of your thumb to easily extract the contents of the frame. Just below the hole punch, pierce four holes in which to thread the strap or rope for hanging frames on the wall. You can stick glue gun special finished metal loop.
5
You can now begin to assemble the finished product. Put decorative wrapper frame face down, place it on a cardboard base, combining details (allowances on the hem decorative items are evenly beyond the edges of a cardboard base frame). Wrap with paper or fabric upper half of the cardboard base, consistently sticking to the edge of the seam allowance to the outer diameter of the main part of the frame. At the inner diameter allowance of the stick completely. The paper is better to use PVA glue or rubber, and fabric – paste of the starch or glue BF-6.
6
On top detail the foundations lay substrate, inner side down. The remaining teeth are not curved mating decorative items glue, capturing two parts – the base and the substrate. Thus, between these parts of the frame forms a "pocket" into which you can put your image.
7
The imagination can suggest to you other design options images rounded. For example, an old alarm clock or a barometer of bedroom will transform your photo into a unique mini-installation. Vinyl and CDs as a photo frame with a glued on them round photos mega-stars decorate the interior of the avid music lover. Woven of straw braid to form a wreath will be perfect addition to embroidered round composition.
Useful advice
Using the scheme, you can make a frame with a variety of decor. Sea stones, shells, buttons, beads, dried plants, cereals, coffee beans – these materials to decorate the frame easy and fun. Involve the children – here's a useful lesson, and efficiently carried out with the kids.