You will need
- two simple pencil of different softness, eraser, sheet of drawing paper, photos for srisovyvaniya, long ruler for scribing.
Instruction
1
Select the photo that you would like to copy. Then join in the preparation of paper for drawing. Attach a sheet of drawing paper with tape to the sheet of plywood that you can paint, putting the figure in front of him, as if you put the picture horizontally there is a distortion of the image
2
Try using the grid method. Make a photocopy of the selected photos, raschertite it on a grid, dividing an image into cells is convenient for you to srisovyvaniya size. Do this and your sheet of paper.
3
Srisovyvanie the resulting squares of the image, displaying them cell by cell on the sheet of paper. .
4
There are other methods of drawing.
Mark on the sheet the location of the future drawing with light strokes. This will help to maintain the composition and not to go beyond the paper.
Mark on the sheet the location of the future drawing with light strokes. This will help to maintain the composition and not to go beyond the paper.
5
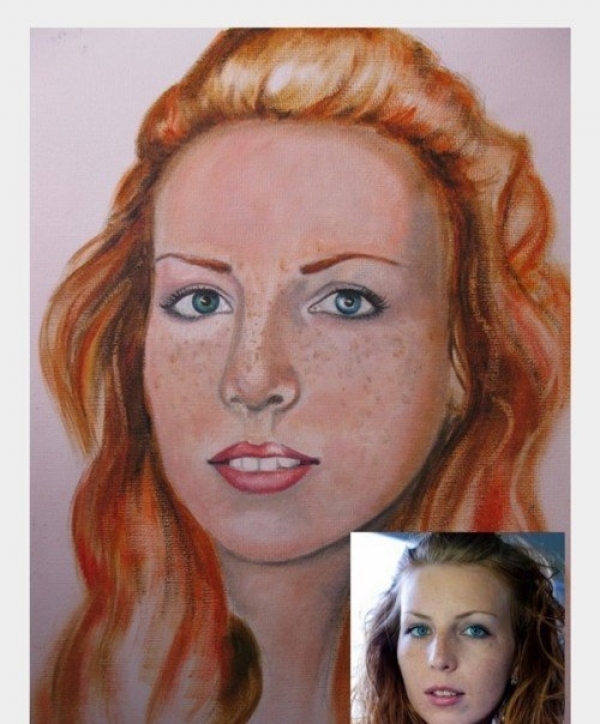
Select the picture individual parts of the imaging object such as the head, hands, eyes. Do not forget to observe the proportions.
6
Determine the pattern of dark and light areas, obscuring their light shading. So you highlight the picture shadow and light. Remember that the dark places draw in the beginning, light at the end.
7
Go to the detail drawing. Do not forget that the Central part of the image needs to be brighter than the background. Emphasize individual parts of the figure, it can be eyes, nose or smile. Make these items the most contrast. When the main parts are finished, start to draw the rest of the figure, making it softer.
8
Remove the excess from the picture: using the eraser to soften a specific area of an image and remove the dirt. Add shading or draw the main background image.
9
Look at your drawing. Compare it with a photo and if necessary – add any details.
Useful advice
For crisp and accurate lines, use a pencil sharpened with a special sharpener, how to sharpen a pencil with a knife turns out not many.