Instruction
1
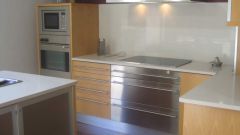
Work with any equipment and installation always starts with the user. Read it carefully and check the components, all the parts in place. Then in the installation process it became clear that something was missing. The process of dismantling is not desirable. It is better to prevent this possibility, showing attentiveness.
2
Before you install the hood is necessary to make standard operation – unpack it and check for integrity.
Also the instructions should be arrangement drawing depending on design decisions in your kitchen or the furniture in it.
Also the instructions should be arrangement drawing depending on design decisions in your kitchen or the furniture in it.
3
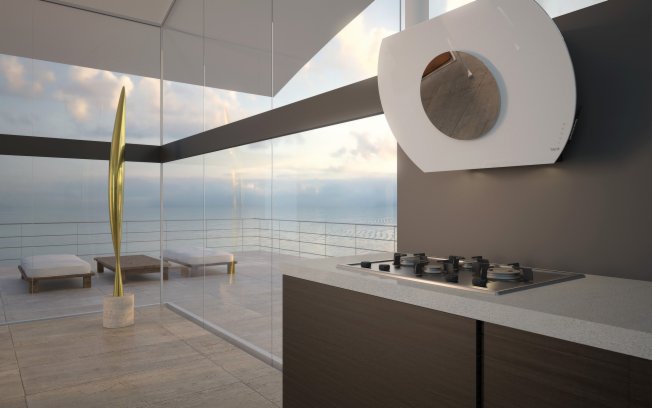
During installation, you should leave the slide visible, and the rest of the exhaust to hide the wall or Cabinet, depending on the type of installation. No matter which connection method you choose, the important thing to outlet hoods connected to a ventilation shaft. Not that the air is stagnate, it needs to circulate.
4
In order to properly connect the cooker hood to the ventilation shaft you'll need a special set of ducts. Typically, these tubes are selected at the beginning when buying the hood. But nothing prevents you to buy them later. In any case, without them the correct Assembly drawing be impossible. The ducts are made largely out of aluminum foil. But there are so-called corrugated pipe.
5
Calculate the duct diameter. It should not be less than the outlet hole of the hood.
6
When installing, try to avoid unwanted twists and turns of the pipes, it will reduce the permeability of the pipe and, accordingly, its performance. The hood is flawed.
Make a separate electrical outlet to connect the exhaust.
Make a separate electrical outlet to connect the exhaust.
7
To increase the safety of operation of the device, install antiphosphate valve. This device will not give back the inflow of exhaust air, because it is fraught with the return to the kitchen odors from the vent.
There are hoods, which antiphosphate valve sold in kit, and there are models to which such a valve need to buy extra. Better buy a fully equipped hood. You do not have to run to buy more, and mounted it easier and faster.
There are hoods, which antiphosphate valve sold in kit, and there are models to which such a valve need to buy extra. Better buy a fully equipped hood. You do not have to run to buy more, and mounted it easier and faster.