You will need
- - the cycle;
- - whetstone;
- water;
- - spray bottle or sponge;
- - primer for wood;
- - flat brush;
- - sandpaper (R100, Р120, P180, Р240);
- holder for abrasive paper or a boss, the bar;
- - double sided tape;
- - a round stick;
- - sanding sponge.
Instruction
1
Raise the workpiece against a light source and look carefully at all the irregularities. Also in future you will be able to control the quality of their work. If planed the items you see small grooves from the planer and protruding fiber, you need to sand the wood.
2
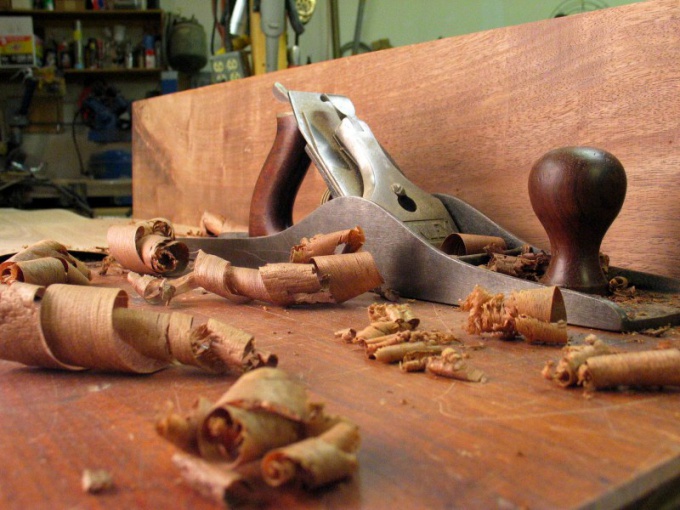
Pick a loop (a tool made of metal with a cutting edge), which is sharpened at an angle of 90 degrees. Take it with two hands, put at an angle and start to move in the direction of the wood fibers. Thus it is possible to align the array, veneer and plywood. Drevesnostruzhechnye plates (DSP) sanding is not recommended – they will quickly dull the tool. In the process, check the sharpening cycle and adjust its grinding stones.
3
Moisten the surface of the workpiece warm clean water and sponge. You can use the spray. After drying the parts, some dents on it will be gone, and the wood fibers will rise.
4
Apply on the surface of the diluted primer to the wood – this will speed up the grinding process. Act flat brush with soft bristles. The optimal conditions for high-quality priming – a cool, dry room, which has no access to large amounts of dust. Allow to dry for an hour.
5
Start leveling wood first coarse sandpaper, then gradually move into smaller abrasive. Rough cuts with a hacksaw, treat skin with large grit (marking R100); planed surface with an abrasive Р120. For finish sanding, first use sandpaper P180, then Р240.
6
To the abrasive is uniformly snugly to smooth surfaces, it is recommended to use special holders for abrasive paper - plastic or hard rubber. You can wrap the sheet around the cork boss, or bar with smooth edges.
7
Sand the wooden part is only necessary in the direction of the wood fibers. Don't get too click on working tool, otherwise you can achieve the opposite effect and scratch the workpiece. If you want to process a small detail, attach a piece of sandpaper to the workbench with double sided sticky tape and carefully spend the right piece of equipment for the abrasive.
8
Be especially careful when grinding the surfaces of complex shapes, such as profiles, curves, recesses, small radii. Put the sheet of sandpaper between two fingers, or attach a strip of abrasive on a thin stick. To handle the curves can you buy sanding pad with a soft stretch lining – it should completely cover the treated area.
9
Easily grind the faces of the transitions from the frontal plane of the part to the end. Villagevoice the ends, moving from the middle to the edges. This will be the finishing stage of grinding wood material. You will only need to thoroughly clean the surface from abrasive dust.
Note
Do not use for sanding wood, thin steel wire, especially before coating with varnish. The metal particles may remain on the surface and rust, ruining the decorative coating.