You will need
- Adobe Photoshop
Instruction
1
If you can not come across a scheme for embroidery, which is inspired, or you want to create unique embroidered canvas, which will not be nobody else, then this will help you the computer and the program photoshop. Open the image you want to turn into a pattern for embroidery. Select main menu item Image - Adjustments – Posterize. Keep in mind that the smaller the value of the levels you put, the fewer colors remain in the image. This step will help to get rid of too many colors.
2
Select the menu item Filter - Pixelate – Mosaic. In this filter, the smaller the Cell Size, the more you will get squares. You can put, for example, 6. After applying this filter, the entire image will consist of many squares.
3
If the picture you chose for the basis of small size, then select the menu Image - Image Size and it increase the size of the image.
4
To remove turbidity squares after their increase will apply to the image filter, which increases sharpness, several times. To do this, run the menu item Filter – Sharpen – Sharpen.
5
To embroider conveniently divide the image into squares of size 10 by 10. Use the keyboard shortcut Ctrl + R, then left and top will be a line. Mouse get of these guide lines and mark the center of the image.
6
Select the Line tool and use it directly on the rails draw vertical and horizontal lines. Draw lines every 10 squares. In the end, you will have an image made of small squares and marked into squares larger.
7
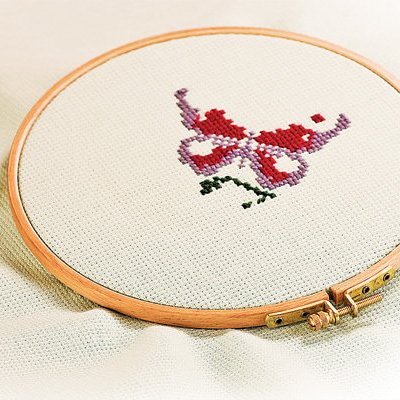
Now you can print the image, select the appropriate color of the thread and begin the embroidery.