You will need
- The image that you want to transfer into the scheme for embroidery.
- Program Stitch Art Easy (I have version 4.0).
Instruction
1
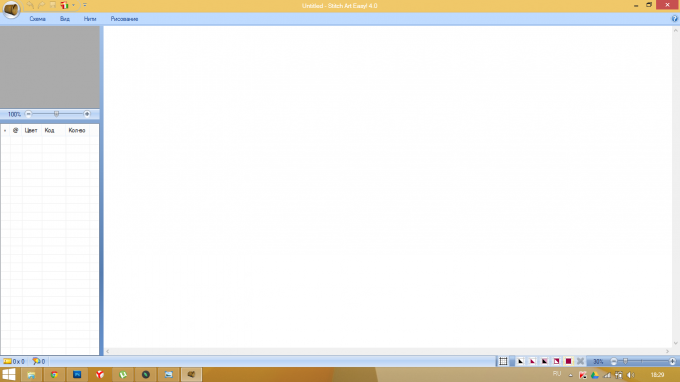
Download and install the program Stitch Art Easy on the official website (find it quite simply in any search engine). Open!
2
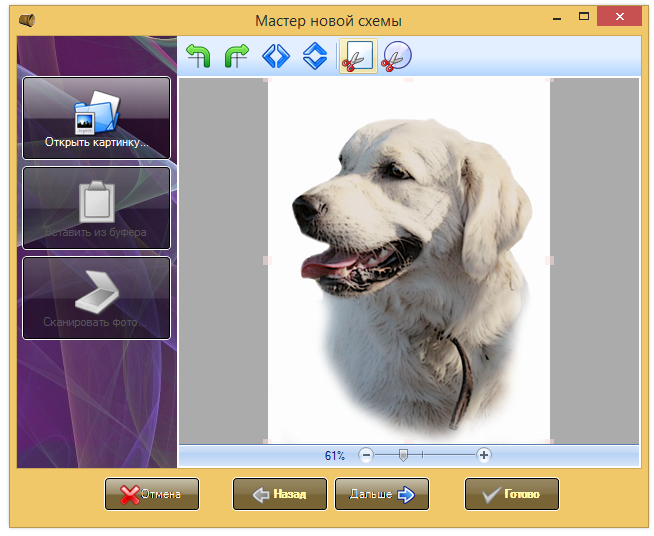
Select "Schema" -> "Open", we find the computer we need a picture and select it (I pre-processed the photo into Photoshop, cut out the silhouette of the future of embroidery is the contour, the background is made white). A dialog box appears "create a new schema", where we will continue to work. Click "Next".
3
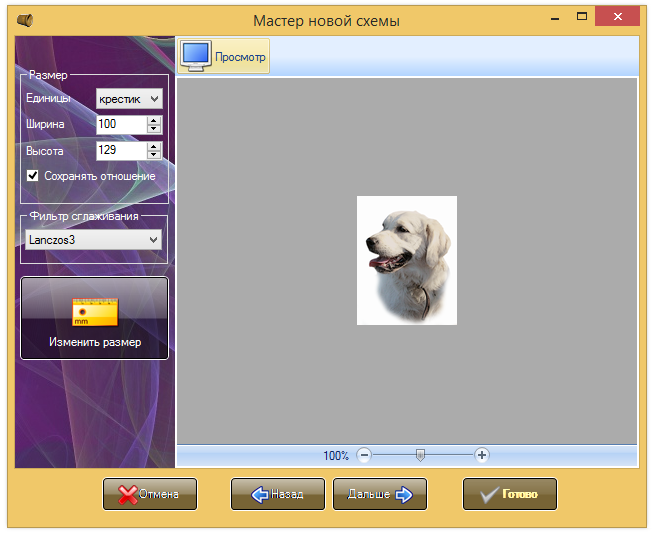
Now ask the next size. First, it is set automatically, but I, for example, the program counted the width of the embroidery in 468 TIC, for me it is too much, I entered a width of 100 crosses, the height is recalculated automatically, preserving the aspect ratio. Here you can select a smoothing filter image, the one that the program applies automatically for me. Chose the size of the filter? Click "Next".
4
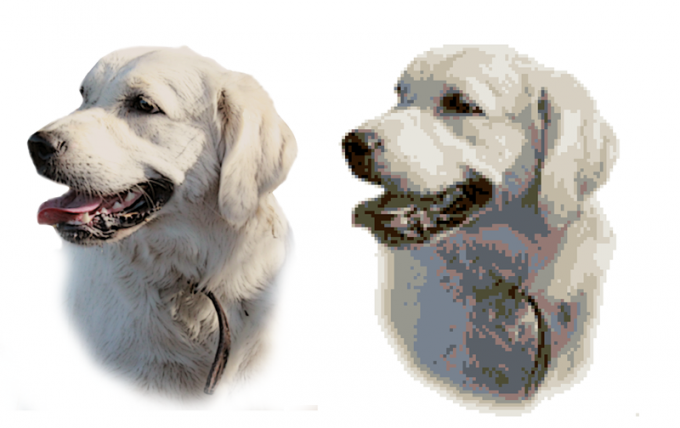
In the next window, we are offered: first, to choose the thread that you will use for embroidery. List threads are not the most scarce, there are DMC, Anchor and Madeira, and I vote for the old Scheme. Second, choose the number of colors of thread. The program offers 30 colors. Don't forget that this also will be enabled and white color, if you, like me, photo on the white background. Play with the number of threads, to my surprise, it is not always the embroidery looks better when using a large number of colors. I, for example, loved the option that offered the program for 12 colors. You can see in the illustration. Try switching to different modes of color matching, the result is different each time, choose what you like. There is also a slider, dragging that, we can customize a mix of colors. I mix don't use.

5
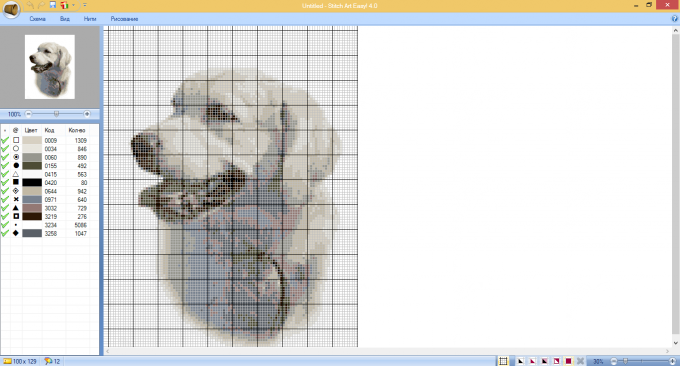
It remains to choose the symbols which will be denoted by a different color in the diagram. By default, the program offers the most easy-to-read characters, so I recommend all the characters to choose their own. The illustration shows which characters I use: to work with them easily.

6
Click "finish!" and admire our scheme. At the bottom right of the program window there are icons, switching that, we can see the scheme. On the left we see a list of threads that the program proposes to use for embroidery, as well as the number of crosses of each color. Very pleased with the function of the program to replace the color of thread - if the store will not be desired colors, the program can pick up numbers similar color of thread. To do this, select click in the list of threads you need a thread, click "Thread" and "Replace color". You will see a list matching the color of the rooms. You can also remove it from the schema unnecessary threads (I removed the white as the background, and it is not used anywhere else in the diagram).
For printing I use a diagram with icons with a frame. To print the diagram, click "Diagram", "View and print".
For printing I use a diagram with icons with a frame. To print the diagram, click "Diagram", "View and print".
Useful advice
The program has many different functions that I did not describe here so as not to inflate article, I almost do not use but consider them interesting: you can finish the design elements, choose different color threads, replace characters, add another line and so on. Experiment!