You will need
- Freeware image editor GIMP available for download on the website http://gimp.org.
Instruction
1
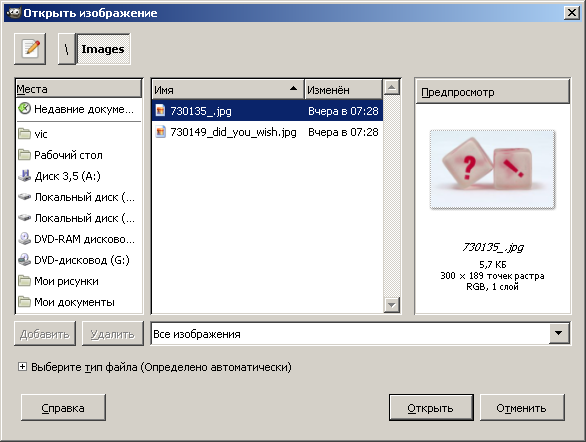
Open one of the photos in the GIMP editor. To do this, select the menu items "File" and then "Open", or press Ctrl+O.
2
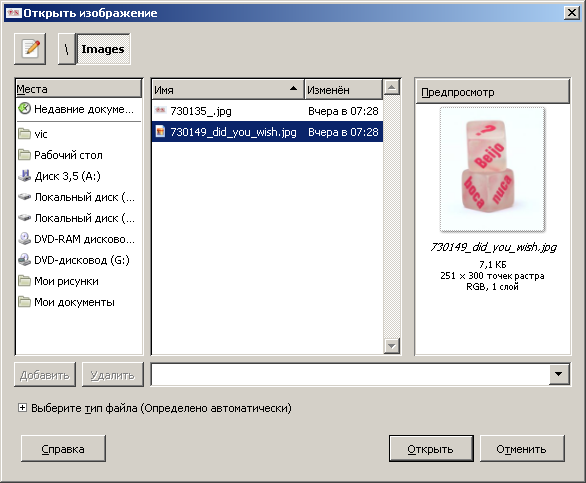
Open another image as a layer in the same window. This is done by selecting menu items "File", "Open as layers...". You can also press Ctrl+Alt+O.
3
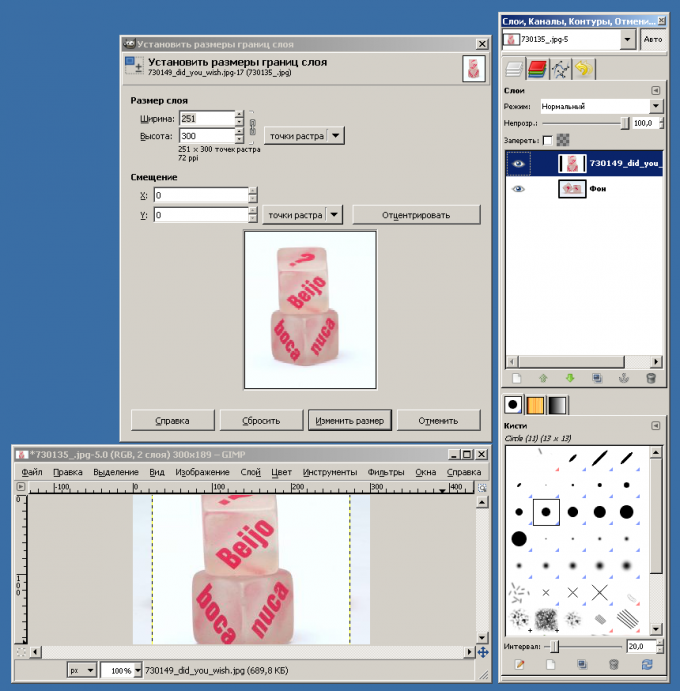
Find out the size of the open images. To do this in the "Layers,Channels,paths, select one of the layers. Then select "Layer", "Boundary layers...". In the window that appears will indicate the size of the layer. Similarly, find out the size of the other layer.
4
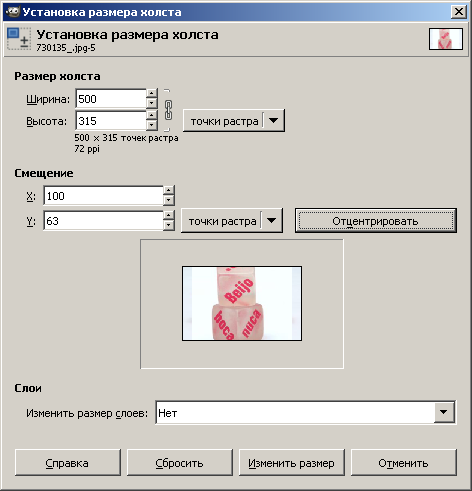
Set the new image size. To do this, select the menu "Image" then "canvas Size...". In the dialog to set the canvas size, set new values for width and height. Enter values based on information about the size of the layers.
5
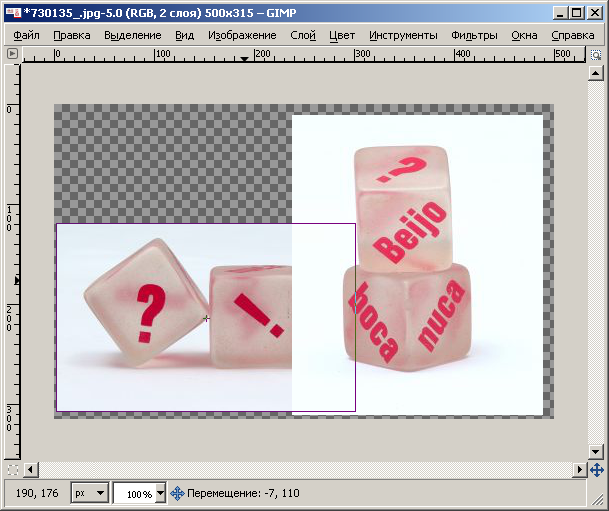
Adjust the layers as needed. For this you can use the "Move" tool from the toolbar.
6
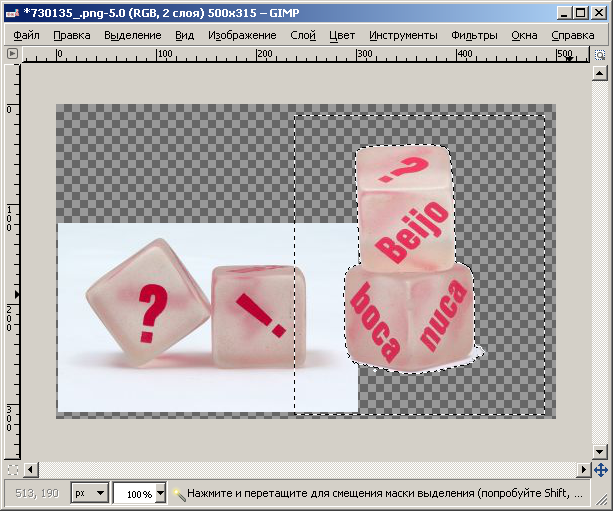
Edit image layers. Use selection tools, paint, remove parts of the image. You can, for example, to remove the background of one of the layers. To do this, select the desired layer in the "Layers,Channels,Paths", click on it right mouse button and select "Add alpha channel" from the context menu. Then select the background layer selected. Use the selection tools. Then press the Delete key.
7
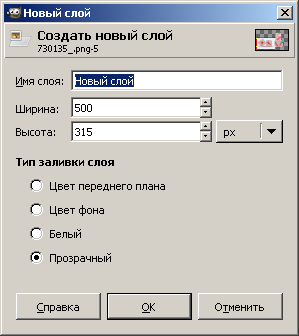
Create a new background layer. Select in menu Layer, New layer...". In the following dialog click "OK". In the panel "Layers,Channels,Paths" move created layer below all other layers and select it. In the toolbar set the desired foreground color. This can be done by clicking on the rectangle showing the current color. Select the bucket fill tool" in the toolbar, or press Shift+B. Click the left mouse button in any part of the image.
8
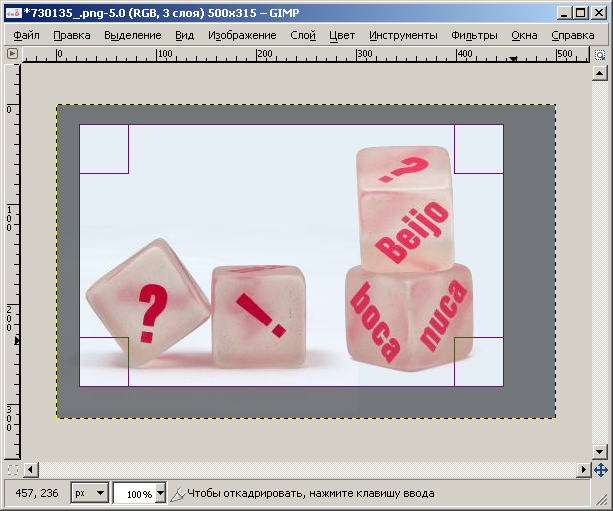
Crop of the image. Activate the toolbar button "Crop" (or press Shift+C. marquee Select the area of the image that you want to keep. Click in the center of the image. The image will be reduced by the border. After the initial crop selection, you can change it by moving the frame edge.
9
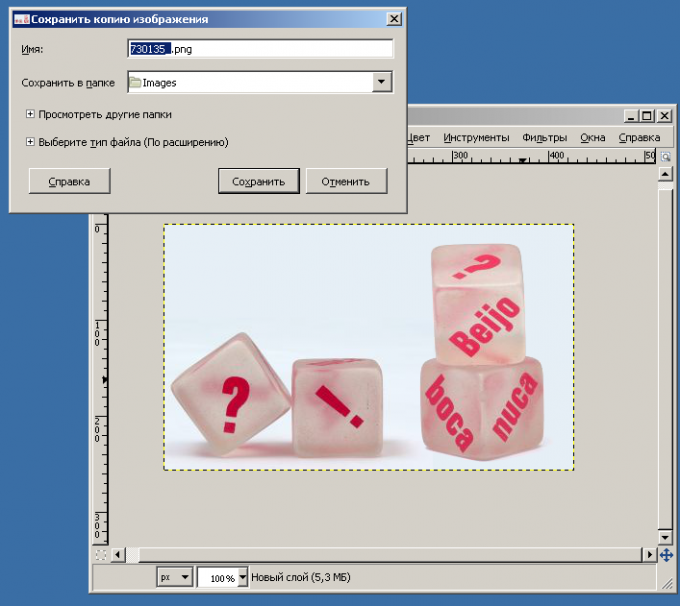
Save the new image. From the menu select "File", "Save as...". In the file save dialog to select the new name and format and save path. Click "Save".
Note
To avoid overwriting the image file of the original, immediately after opening the first image, save it in a format GIMP.
Useful advice
When choosing the color of the background layer it may be useful to the eyedropper tool. If you increase the canvas size take values of a stock, since the extra space would be cropped when cropping. Save the resulting image in the GIMP format. So you can return and edit it later.
