You will need
- - Photoshop;
- photography.
Instruction
1
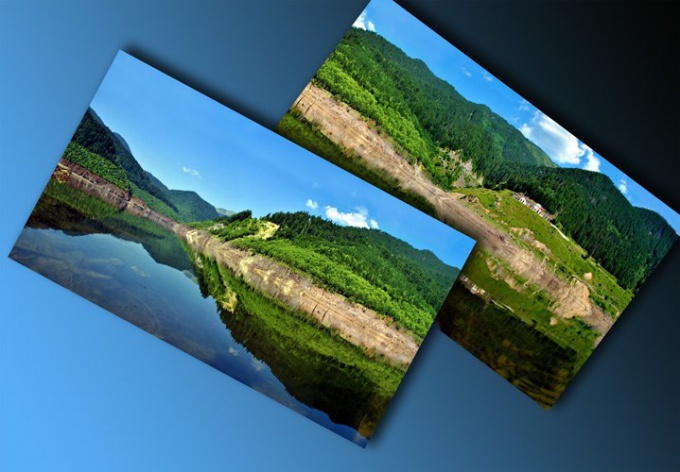
Two pictures, if their contents are the same as a quarter, you can stick together as a panorama. To do this, upload the picture into the editor option Photomerge from the Automate group the File menu. If you have not changed the shooting point, there is a chance that the program will combine them smoothly without your assistance. Otherwise, you can manually drag the thumbnails images into the editor window and overlay each other in the correct order.
2
Choosing the location of the frames, enable the Snap to Image and click on the OK button. Pictures will open in a normal window editor Photoshop as a single layer with a transparent background. Cut the protruding edges and excess parts of the background with the Crop tool.
3
By combining two different pictures, it is possible to obtain an image with a smooth transition from one picture to another. To achieve this effect, load the images in Photoshop option Open from the File menu. Turn on the Move tool and drag one of the pictures in another window. As a result, you will receive a document with two layers, each of which are processed photos.
4
If the top was smaller than the bottom, unlock the background image by double clicking on it, and reduce the photo size option to Scale the Transform group Edit menu.
5
Add a layer mask to the top picture, using the option group Reveal All Layer Mask on Layer. To make part of the photo is transparent enough to paint a fragment of the generated mask in black. To obtain a smooth transition between transparent and opaque areas suitable fill the mask with a gradient.
6
By incorporating the Gradient Tool with the Linear option, open the palette of samples and select a transition from black to white. Click on the mask and fill it with gradient.
7
When combining two images you can obtain interesting result by changing the blending mode of the layers. This can be done as a picture, part of which is hidden by a mask and with the layer without a mask. To view the result, click on the upper of the two images and select a blend mode from the list in the upper left region of the palette layers. To temporarily disable the mask, use the option Disable group Layer Mask the Layer menu.
8
Save the image with Save As option of the File menu. In the field for file name, enter a name that does not coincide with the name of the original image.