You will need
- - Photoshop;
- photography.
Instruction
1
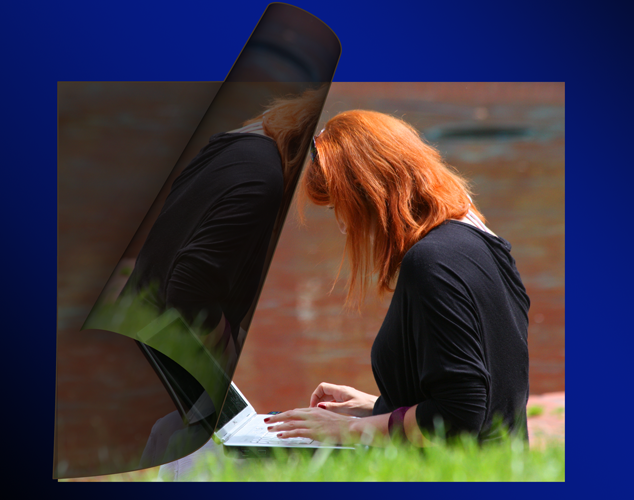
Using Ctrl+O, load in Photoshop dark photo. Ctrl+J copy the image to a new layer, and selecting the desired item from the list in the upper-left pane of the layers palette, apply a duplicate layer of the background Screen ("Clarification"). To lighten an image with even illumination, this may not be enough.
2
If the result of changing the blending mode of layers is far from ideal, lighten the photo by adding to the file the adjustment layer. Create the option Levels ("Levels") of the group New Adjustment Layer ("New layer setup") menu Layer ("Layer"). In the settings window, move the white marker to the left.
3
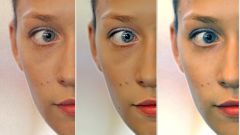
When adjusting images with a brightly lit background can be as a result of the clarification of the details in the lit areas had disappeared, and the dark object on the front Board remained dark. To see details on this part of the image, slide left gray marker.
4
Osvetli forefront of unevenly lit picture, return the items that are located in light areas. If you turn off the adjustment layer, go to background image and select it illuminated region using the Color Range option ("Color range") menu Select ("Selection").
5
Turn on the layer with the filter Levels, click on its mask and fill selected area with black color applying the Paint Bucket Tool (Fill). Ctrl+I to invert the mask. At your disposal is the layer that changes only the bright areas of the picture.
6
Copy the adjustment layer and fill the mask of the duplicate in white. Using Color Range, select mid-tones in the picture and change the mask a new copy of the layer so that the filter acted only on the selected area. In the same way, add the file to the layer, lightening the shadows.
7
Adjust the opacity of each copy of the layer with the filter. Change the value of the parameter, Opacity ("Opacity"). To see details on the picture, which was light to begin processing, reduce the opacity of the adjustment layer, acting on these fragments, up to ten or fifteen percent.
8
As a result of strong lightening will be noticeable noise, not starting in the eye before. To cope with this scourge, go to the top layer and use the combination Alt+Ctrl+Shift+E to create a composite image containing the visible parts of all layers of the file. Remove noise from received pictures option to Reduce Noise ("noise reduction") group Noise ("Noise") menu Filter ("Filter").
9
Save the clarified, using a combination of Shift+Ctrl+S.