You will need
- Graphic editor Adobe Photoshop.
Instruction
1
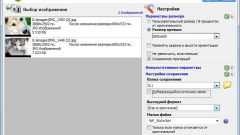
Run the GUI editor, and then load the file that contains the layers that you want to reduce.
2
Select the layerwith which to work. It must be done on the panel, opened by pressing function key F7 or selecting "Layers" under "Window" menu of Photoshop. If equally necessary to reduce some layers pereschelkayte all of them with the left mouse button while pressing the Ctrl key. To reduce the grouped elements is sufficient to highlight only the row with the folder in which they are collected.
3
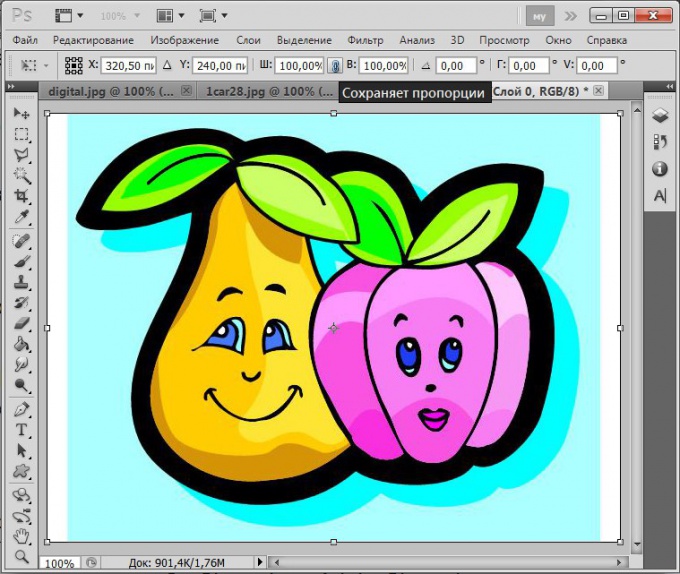
Enable transformation of the image. This can be done through the menu of the graphics editor: open the section "Edit", go to "Transform" and select "Zoom". Can all these manipulations replace by pressing Ctrl + T (here T - Latin).
4
If you reduce the size of the selected layer need to preserve the original proportions, click the icon showing a chain of two links. It is placed between the Windows, marked by letters "W" and "V" on the Options bar. This panel is a narrow strip along the top or bottom edge of the Photoshop window. If it is not visible, turn on the display through the "Window" in the menu editor by selecting "Options".
5
Set the new size of the image in umanesimo layer. This can be done by changing the numbers in the Windows "W" (width) and (height) in the options bar. Enter new values with the keyboard is not necessarily enough to click the right window and use the arrow keys up and down, controlling the change of the dimensions visually. If mode keep aspect ratio is enabled, changing values in one of the Windows will automatically change the number in the other.
6
Instead of the settings panel you can use the mouse. After enabling the transformation of the image around it a frame with anchor points - you can drag them with the left mouse button, changing the picture size. The proportions of the image will be saved only when you drag points in the corners of the frame Shift.
7
To disable transformation of the image, press the Enter key.