You will need
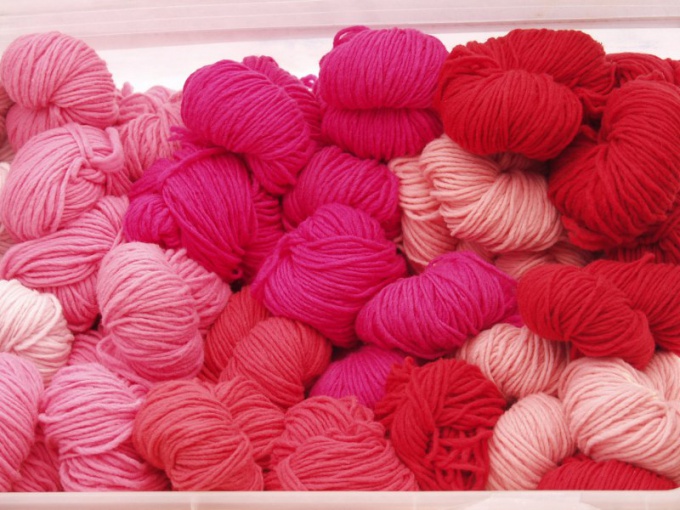
- - soft yarns;
- of spokes or the hook on the thickness of the thread.
Instruction
1
The product with a sleeve "bat mouse" best to knit one fabric. You can start with the bottom of the shelves or back, and sleeves. Dial on the spokes of a loop respectively for the calculation. Hem knit as planned. Usually they start with a rubber band, but this style looks good without it, especially if you knit from mohair open knit. Perform a direct canvas before the start of the armhole.
2
Add loops on the sleeves. This is done at the end of the row. Davaite to the edge, then make a set based on the length of the sleeves. Do the same make in the next row on the other side. You can do a little differently, making the transition smoother. Start add a loop with two sides, not dawasa to the bottom of the openings, five inches. Add on both sides simultaneously, making direct or reverse of nakedy after the initial edge and front end. Add better through the series or only the even or odd.
3
Further steps depend on style sleeves. If you want to make it straight, knit without additions and bavleny to the line of mid-shoulder. If the sleeve slightly tapers to the cuff, first dial not all the loops needed for the calculation of length, but only a part, for example, to the elbow or slightly higher. Provarite right a couple of rows, then dolerite on each side some number of loops, and so as long as on the spokes you will not be a shelf or the back and two full sleeves.
4
A little dawasa to mid-shoulder, close the loop on the neck. Find the middle of knitting and somehow mark it or just remember. Put in one and the other side PO1/4 neck girth or size of the cutout that you would like to get in the end. These points also mark.
5
Start the row with one of the arms, doverite to the first mark and close the loop intended for the neck with one hand from the middle to the other. Remember their number. Tie the number on the second sleeve. If you closed your mouth strictly in the midline of the shoulder, in the next row dolerite loop. From the beginning of the sleeve davaite to the mouth, make a set of loops and continue the row on the second sleeve.
6
Loops on the sleeves take away in the same order in which you added them. That is, if the sleeve is straight, knit quietly to the bottom of the armhole, and then immediately close the loop on two sides so that the spokes were the only ones from which you will knit the shelf. In the second case, close loop gradually, not forgetting to try new cuts of the sleeves to the existing ones.
7
The product sleeve "flying mouse" is not necessarily a straight horizontal neckline. It can be with zipper and V-neckline. In this case it is more convenient to start with the part where there is no zipper. To cut knit exactly the same as in the previous method. But after this you have to tie one half to the end of the clasp, and then another.
8
Dress or sweater "flying mouse" it is possible to start knitting from the cuff. Link the very first the cuff, then knit the sleeve, gradually adding loops on both sides. You can extend it at once. The main thing - remember how you did it, because the lower loop on the second sleeve should be in the same order.
9
Davaite to side seam. Add loops together with the side shelves and back. Knit straight up to the neck, then divide the work. One part of the hinges, remove the string, and the second continue knitting to the end of the neck. Then return to the second part, davaite them to the second edge of the cap and connect the parts. Having reached the second side of the seam, take away the loop in the same order as you added. Try as much as possible to respect the symmetry.
