Instruction
1
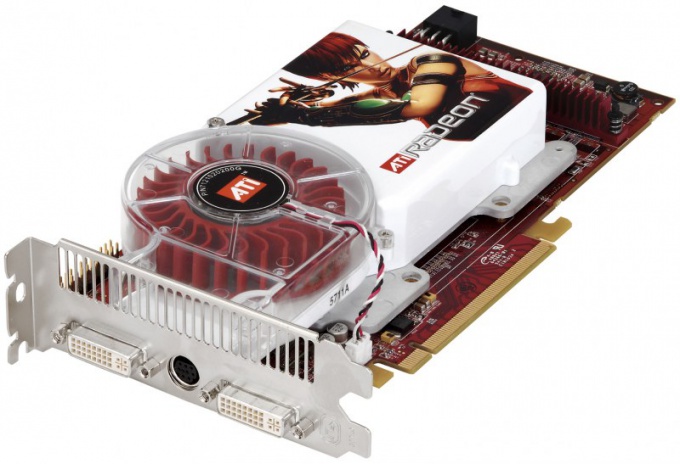
Check out the full amount of memory allocated to the graphics card. To do this, run the built-in windows utility dxdiag, go to display tab and locate her "total memory". This value is the full amount of memory that can be used by the video card - the amount of built-in memory and allocated in the main memory of the computer. If you are not satisfied with this value - you can try to change it.
2
Start "control Panel" of your graphics card. In the left pane, locate the menu item "UMA frame Buffer". The name may vary depending on video card model. Drag the slider to the maximum value. If in "control Panel" cards there is no such menu, you can try to change the amount of allocated video memory through the BIOS.
3
Enter the BIOS of the computer or laptop. To do this, immediately after turning on the computer press "Del" on the keyboard. If the download continues normally, try the keys the keys "F2" and "Esc". If the BIOS could not go, consult the documentation supplied with the device, because the keys are reserved for the BIOS may differ depending on the computer model.
4
Now find the parameter responsible for the amount of RAM allocated for the video card. Depending on the computer model, it can be called: "sharing memory BIOS VGA", "VGA memory", "Video-memory", "AGP Aperture Size". It is also possible other names. The absence of such or similar menu in BIOS could mean that your motherboard does not support setting the maximum amount of video memory allocated. In this case, the memory is allocated automatically, as needed.
Note
If you utilize system memory needs of the video, for the needs of the processor it will be less.
Useful advice
Remember that system memory cannot be a full replacement of its own video memory.

