Instruction
1
Before sealing the cracks in the ceiling, thoroughly clean the site of the crack where you will put the solution. Then moisten with water that she was soaked. Next comes the process of sealing cracks.
2
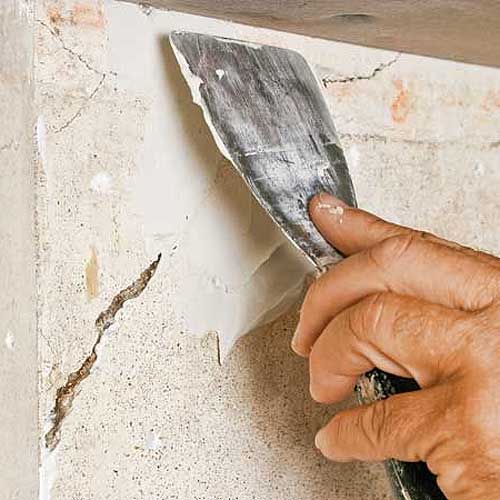
Put mortar on the bottom of the recess V-shaped and spread over the entire area. Before applying the second portion of the solution wait until the dry out first. Apply a second coat of the solution on the already solidified first so that the crack is filled two-thirds full. Also spread the solution over the entire area of the crack.
3
After curing the second portion of the solution proceed to the final stage of sealing the cracks. The solution this time apply with a simultaneous rubbing and flush with the ceiling plane.
4
Not every layman can immediately measure out the desired amount of solution. In this case, it is recommended to act: measure the first portion of the solution, scooping up a tablespoon to the floorcreased the slide, then prilepnica it to the desired location. After that, trowel or the same spoon gently put the solution and DAB it on the area of the recess.
5
To the solution was more flexible and kept a tighter hold, add some PVA glue (1:10). Only such mortar sets very quickly, so you need to use it as quickly as possible.
6
You can use PVA glue to primer the surface, which will be applied plaster. To do this, dilute it with water and apply with a brush. Immediately after that, you can apply the first coat of plaster.
7
Sealing cracks and renewing the plaster should start from the bottom. Postulatore first, defects that are closer to the floor, and located at the junction of wall and ceiling leave for last.
8
The process of sealing cracks on the walls does not differ from the same process on the ceiling. One has only to consider, on the walls of the solution should be applied from the bottom up, so it does not come off during application. That's all tricks.