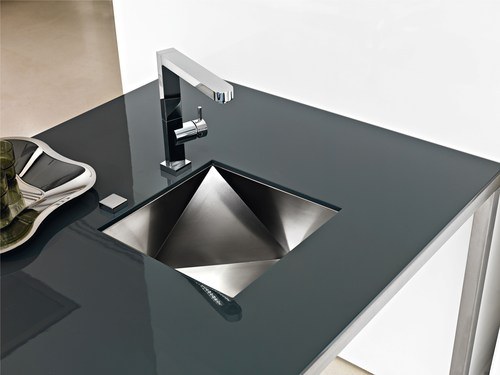
You will need
- - drill
- electric jig saw
- cutting machine,
- - diamond bezel,
- - pliers
- - clamp,
- - screwdriver,
- - screwdriver,
- - fasteners,
- - a tape measure, ruler, pencil,
- sealants, spatula or brush, clean rags.
Instruction
1
Space on the countertop, attaching the template, the future of the hole under the sink. Using a drill and jig saw, carefully saw out the hole. Cut it by placing a countertop on the floor, as it is more convenient.
2
The resulting cut clean with a rag from chips and dust. The cut with a sealant to protect it from the effects of water and time. As his use epoxy resin or silicone. If the countertop is made of wood or plastic, get an alcohol sealer. Apply it with a brush or spatula, try to do it as evenly as possible. Once finished, immediately remove all surplus sealant.
3
Make holes for fasteners on the countertop. To do so, attach the sink to the bottom and mark the place for the future of the fastener. Using a cutting machine and diamond disk at an angle to the surface make vypily. They will be required in order to subsequently be inserted in them fixing elements of the sink when countertop is already installed on site.
4
Install the fasteners to the sink, making sure that it is close enough. Insert the bolts into the slots but do not attach them until the countertop is not installed.
5
Make sure that the sealant has dried, attach the countertop to the base, that is, to the Cabinet. Before you install the sinkon the reverse side glue on its contour a special gasket or smear the edges with silicone.
6
In the hole of the countertop gently place the sink. By using a prepared clamp press it to the surface. Remove any remaining silicone.
7
Attach the fasteners into the previously prepared slot. After that, fasten the sink on the countertop, but do not tighten the bolts too much to avoid damaging the worktop itself.
8
For awhile, leave the design in order to stabilize the sealing materials.
