You will need
- - screwdriver;
- - the knife.
Instruction
1
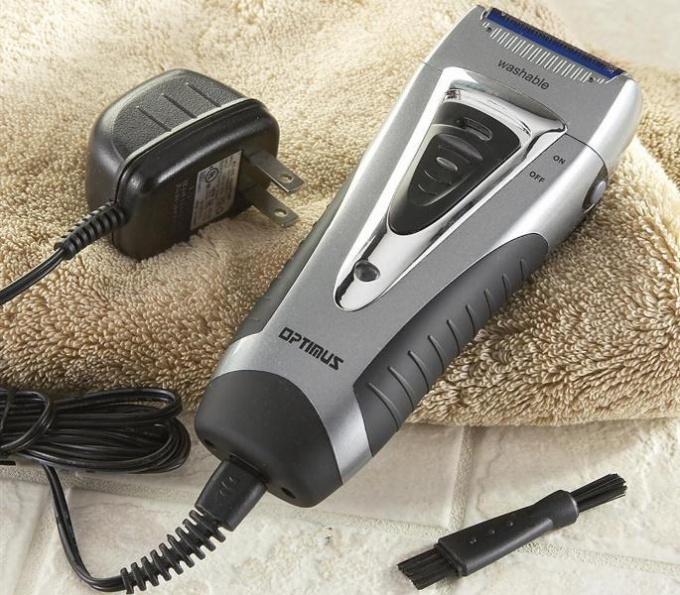
To remove the razor from the collector to the engine remove the protective cap and the blade unit. Detach the cover (wolokolamsker). Press the holders of the blade unit and pull out the knives razor.
2
Loosen the screws and remove one of the halves of the housing. Slide the body of the shaver on the cord to the side of the plug. Now remove the screws securing straps connecting cord. If necessary, repair desolder the cord. If the goal of disassembly is to repair electric motor, disconnect it by unscrewing the fasteners, remove the washers and rubber gaskets.
3
To replace the housing of the shaver disassemble the instrument, remove the screws holding the case halves and slide the bracket. Disconnect the screen from the stator, move the screen and varnished cloth aside. Remove the power cord. After the repair thread the cord into the hole of the new case and solder it, guided by the wiring diagram.
4
Sometimes disassembly is to replace the leash. In this case, further to the total disassembly Unscrew the two screws holding the leash and remove the retaining nuts. Wear on the Cam new leash, and then upset the mechanism until it stops.
5
When you replace brushes at the end of the disassembly Unscrew the screws that fix the brush holder and remove them. Remove the brush holder and spring brush.
6
When disassembling the razor with built-in electromagnetic vibrator first remove the protective cap. Press the holder and remove the blade unit. Loosen the screws and remove the housing cover of the device. Remove from the slots of the housing connector, the mains switch and voltage switch. Remove cap, washer, axle and springs of the armature of the vibrator. Disconnect the stator with excitation coils.
7
As a rule, disassembly of the shaver is made for preventive maintenance or replacement of defective parts. Strive to ensure that unless absolutely necessary do not disassemble parts that do not require in the prevention or repair. After dismantling the device generate its Assembly in the reverse order. Please pay special attention to loose parts.