You will need
- - ceiling tracks;
- - the mitre box;
- - hacksaw or a knife with a thin blade;
- - structural adhesive;
- mounting the gun;
- - acrylic sealant.
Instruction
1
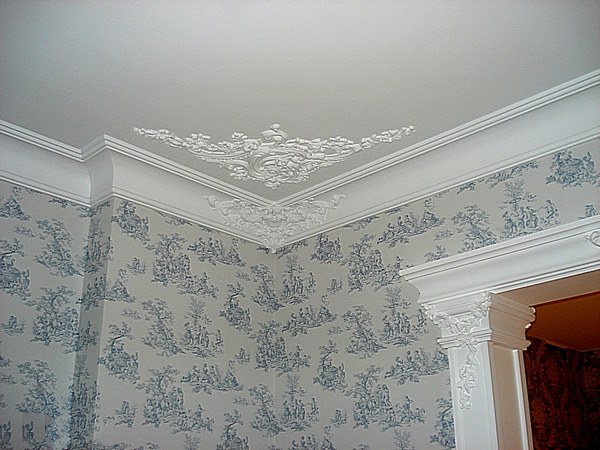
Arbitrarily select the angle from which you will start gluing ceiling cornices and skirting the entire room, the sticker will end. Gash angle at 45 using the miter box and a knife with a thin blade or hacksaw. To do this, place a ceiling cornice in the mitre box and saw it in the slot that corresponds to the angle of inclination of 45 degrees. With a knife carefully adjust the angles directly.
2
Apply mounting glue gun on both surfaces of the cornice, which are adjacent to the ceiling and to the wall. Apply some glue to the joints.
3
After gluing the joints zashpaklyuyte fine-grained putty that is easily sanded, so that when it dries, wipe the joints. Acrylic sealant, smoothen the joints between the cornice, ceiling and wall.
4
After installation, paint the cornice the same color as the ceiling. Apply the paint on the baseboard into two or more layers. To the junction between the wall and the ledge was a smooth line, use paper tape.
5
To make the original interior of the house, step to 20 inches from the ceiling and attach the cornices to the wall.
6
Paint the area above the baseboard as well as the ceiling.
7
Attach the cornice with the special lighting that will highlight and illuminate the ceiling.
Note
If the walls are uneven, ceiling cornice should avoid such irregularities. It needs to be smooth, visually align the wall. To glue the cornice is only on the wall, make sure the angle of the junction of the ceiling and walls were perfectly smooth.
Useful advice
Affix skirting boards ready to paint the ceiling. It needs to be zashpatlevany, sanded and primed. Walls can be pokleit Wallpaper, then the ledge must be glued very carefully. If the Wallpaper paste after the installation of eaves, you will need to adjust each band to the plinth.