You will need
- - Photoshop;
- - the image for insertion;
- - photo with the background.
Instruction
1
Open both pictures which are going to work in a graphics editor, using the option Open from the File menu, selecting from the two files.
2
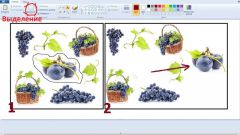
Select all the image file with insert object and place it on top of the background layer with the photo. To highlight the whole picture, apply Ctrl+A, and copy the object with Ctrl+C. Click on the window with the background and paste the picture with Ctrl+V.
3
Remove the background from inserted images. To do this, create a mask click the Add layer mask from the layers palette. Select the Brush tool and make the main color black. Click on the mask rectangle to the right of the icon layer, and paint over the background of the pasted object. The shaded areas of the background should become transparent.
4
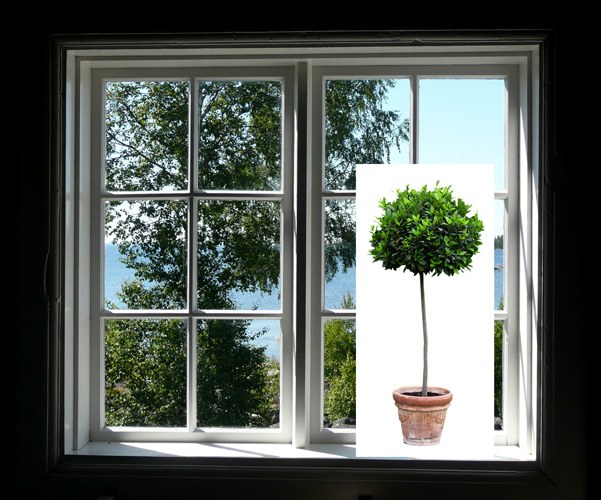
Change the size of the inserted object so that it looked photo realistic. If the object turned out to be more than you need, reduce it. If the inserted image is too small, reduce the size of the background image. To be able to edit the background, click on the layer with the picture and select the option Layer From Background from the context menu. To change the size use the Free Transform option from the Edit menu. To aspect ratio is not distorted during resizing, hold down the transform Shift.
5
If necessary, change the perspective of the inserted object. Such an operation may be required if a background image and a photograph of the object taken from slightly different angles. To change perspective by using the Perspective option of the Transform group Edit menu.
6
In order for the object inserted in the picture, look natural, give its color to match the color palette of the background. This can be done with the tools in Levels or Curves, the settings window which offers options of group Adjustment menu Image.
7
If you need drop shadow from the inserted object. To do this, duplicate the layer with the pasted image and load the selection from the mask with the option Load Selection menu Select. In the Channel, select the channel whose name is the word Mask.
8
Fill the selection with a dark color using the Brush tool and remove the selection with Ctrl+D. Apply for the resulting workpiece to shadow a Gaussian Blur filter, which is located in the Blur Filter menu. Adjust the blur radius depending on how the shadows look like on the background picture. If the shadow is soft, put a large amount of blur. To create shadows with more hard edges, set a small blur radius.
9
Put the shadow layer under the layer with the object and transform the shadow so that it fell to the surface at the same angle as the other shadows in the photo. To do this, use the option Free Transform, holding in the process of transformation of the Ctrl key.
10
Make the shadow more transparent by changing the value of Opacity. The unnecessary parts of the shadow get by editing the layer mask.
11
If you want to return to editing the pictures, save it as a psd file with all layers use the option Save from the File menu. A copy for viewing can be saved to a jpg file Save As option from the same menu.