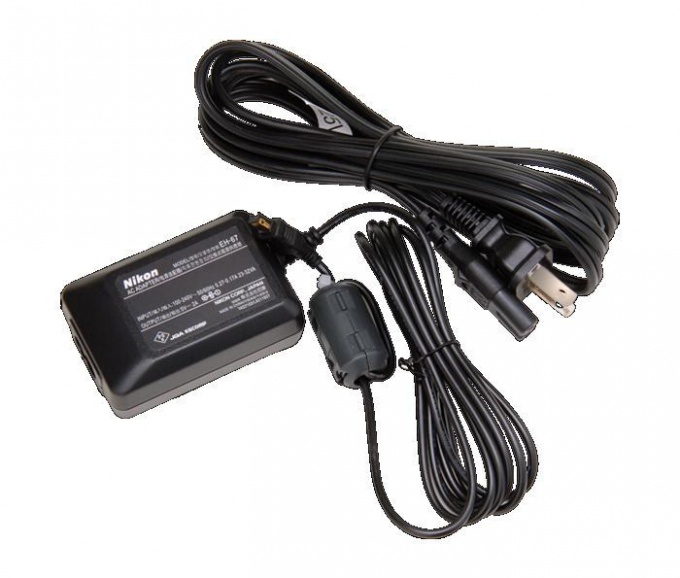
You will need
- - a towel
- - hammer;
- - the scalpel.
Instruction
1
Take a soft towel and wrap it in the adapter. Gently tap with a hammer along the seam to spread the glue. The blows should be sharp enough and strong, but without excessive zeal, not to accidentally damage the case. Experimentally determine the force at which the seam will begin to diverge. Then open the case.
2
Open the housing using a scalpel, if you are afraid to knock on the adapter with a hammer. However, in this case, you can damage the surface of the body cuts, scrapes and splits, and in the case of excessive zeal may be damaged the Board itself. In the case of towels, and the hammer device will remain unharmed. A scalpel can be applied only in the case that the adapter case is glued tight enough or has a special way of fastening.
3
Heat a very thin and narrow screwdriver or knife and install it on the seam of the body of the adapter. Press on it until then, until you hear a click. Move the screwdriver along the seam, until you open the case. It must be remembered that in some places there are special clips that need to be open with pressure. If the case is quite badly damaged when disassembling the adapter, it can be assembled using epoxy, which will also replace loose items.
4
Check the connected wires on the cause of the fault or short. If the failure was in them, then carefully solder the disconnected elements and wrap with electrical tape to prevent shorting. If you have a spare wire that can be cut is faulty and attach a new one. In this case, you must run the wiring connectors.
5
Assemble the device back and test it. If and now the adapter is not functioning, perhaps the problem is blown PCB components. In this case, you need to buy a new device for recharging equipment.
