You will need
- - base coat;
- - Lac;
- - protective top coating.
Instruction
1
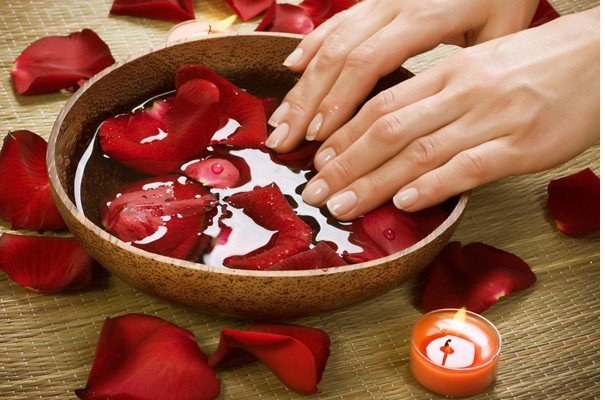
Make manicure in the salon or myself. Nails should be well treated – otherwise the most beautiful and high-quality paint will look sloppy. File his nails, giving them the desired shape. Soften the cuticles with a special tool and remove it cane from the orange tree. If necessary, align the nail surface sanding block.
2
Consider the General idea of a future manicure. Short nails look beautiful with paints of dark and saturated colors. Classic bright red, orange, purple, green or blue of different shades look great on the nails of moderate length. Very impressive looking and dramatic dark tones ranging from black to dark red. However, bright and dark shades require a perfect quality of the manicure.
3
If you are confident in your skills, try lucky more calm tones. Very nice light shades that are close to tone body beige, pink, cream and Golden. Selection of color depends on your taste and skin tone. To avoid mistakes, experiment, paint one fingernail on trial. If the color you like, use it for all fingers.
4
Good idea – combined manicure. You can paint all the nails polishes in different shades of the same color, achieving the dip-dyed. Either paint a contrasting color just one finger – middle or ring. Try unusual combinations – taupe with blue or copper-red with gold.
5
Having defined the design, start painting nails. Install the hand comfortably. Best of all, when your fingers are on the table, and the brush hangs freely. Provide good lighting, otherwise you will not be able to monitor the quality of the coating.
6
Dial the Polish on the brush. Excess remove, easily sliding on the inner side of the neck of the bottle. Dip the brush on the surface of the nail closer to the base. Nudge it back the bristles against the cuticle, and you get a neat nail contour in the most problematic part. Now sweep the brush towards the tip of the nail. Dip the brush into the vial again and with two strokes to paint the lateral surface. Act fast, the paint started to dry. If you are sure that you will be able to apply the varnish carefully, do not bring the brush to the cuticle and sides of nail. Better to leave them unpainted than to smear the fingers.
7
Dry the first layer and start applying the second. It will mask the bald spots and gaps. If the color saturation you are not satisfied, you can apply the third coat. It is important to thoroughly dry the nails after each application, otherwise the brush will leave on the uncured varnish traces.
8
The next stage can be the additional decor. You can decorate sequins nail Polish applied at the base of the nail. They are very beautiful combined with the rich colors of dark brown, wine red, dark blue or purple. Dip a brush into a bottle with shiny varnish and wipe it on the inner side of the neck almost to dryness. Semi-dry with a brush, apply several short vertical strokes at the base of the nail, achieving the effect of frost.
9
The final layer will be the top coverage. You can choose a top with a gloss, Matt or semi-Matt effect cover with shimmer (tiny sparkles) or a universal means of protecting and quickly prosushivayut varnish. Very short nails is a mirror gloss, so look for the bottle marked "Diamond Shine" or "Super-radiance". Apply it over nail Polish and dry thoroughly. Spectacular manicure ready.