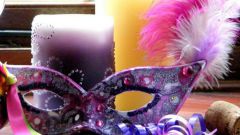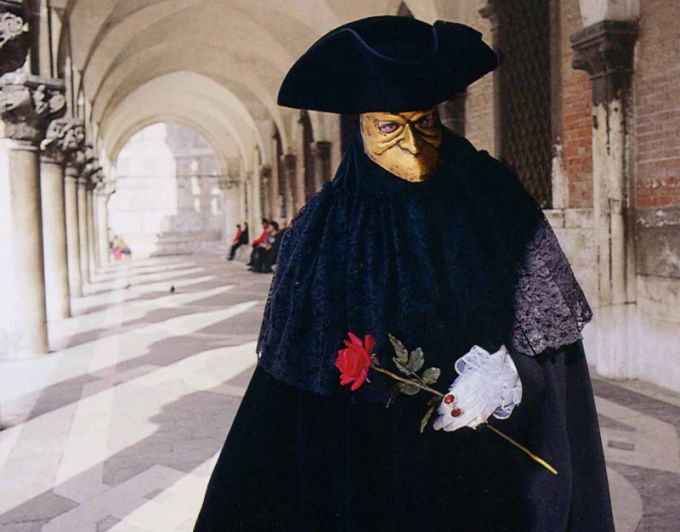
Instruction
1
Nutrilite the newspaper into small pieces of two types: one clean from the fields of Newspapers, and other letters, then to avoid confusion. Prepare glue (not smelly and not fragile after curing). Forth as needed collect the hair to keep it out of the face, smear the face with vaseline and sit in front of a mirror.
2
Soak the first layer of scraps with letters (of course, without glue) and priglasite on the face. Then sculpt a layer of clean scraps already in the glue. Next comes the layer with the letters on the glue, then clean and so on to the required thickness. The first layer should be more than others that on the face do not hit the adhesive with the remaining layers of newspaper scraps. Don't worry about the shape of the mask. After all, the extra you then cut.
3
Allow the mask to dry, remove it from the face and leave to dry overnight. The next morning check to see if the hardened mask. If Yes, attach it to the face and mark with a pencil or pen her place of cutouts for eyes and, if necessary, for the mouth. Now cut with scissors from the mask without the cutouts for the eyes and mouth make a sharp hobby knife. Don't forget after that to hang the mask around the edges with pieces of paper that the edges are not messed up and that pricked the skin.
4
Cut from a beautiful thick fabric (e.g., velvet) piece sizes with your mask with a small allowance around the perimeter. Start slowly to glue the velvet to the "face" of the mask. Once done with that, glue sticking the tissue to the inner side of the mask and carefully cut tissue of the eye socket and mouth.
5
Spread glue on the inside of the mask just before reaching the brim. Now glue the mask cloth and from the inside. Then decorate the "face" of your mask with rhinestones, pieces of silvery fabrics, laces and other things. If on velvet stood out the glue, remove it with a damp cloth. Buy or search at home any rubber band (preferably a transparent elastic-strap for dresses or bras) and attach it to the mask at the sides. That's all.