
Instruction
1
To change where an account is member of administrator. Start menu "start" and open "control Panel". Go to "Account" and select the entry you want to change. In the new window click on "Change name." Enter new information and click "Change name".
2
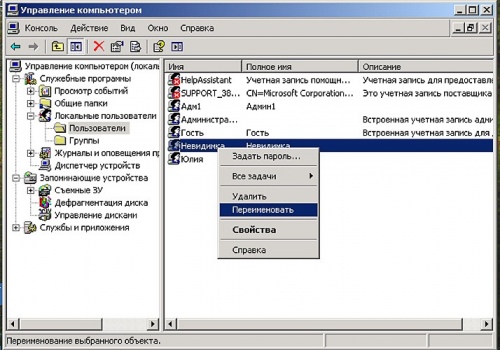
The same purpose can be achieved in any other way. Call the context menu by clicking with the right mouse button on the icon "My computer" and select "Manage". Open "Local users" and the folder "Users". In the right part of the window, mark the entry you want to modify, and call drop-down menu by clicking the right button. Choose the option "Rename" and enter new data.
3
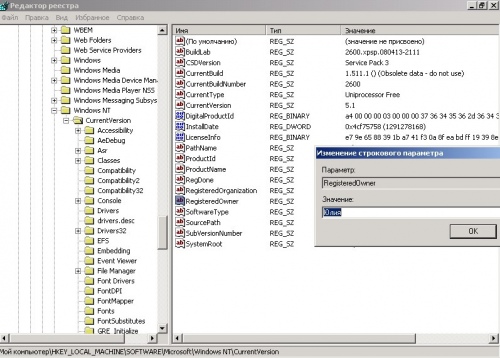
In the registry to change the user name and the name of the organization that owns the computer. Using the Run command from the start menu call the Open box, type regedit. In the left pane of the registry editor window, locate the HKEY_LOCAL_MACHINE\SOFTWARE\Microsoft\Windows NT\CurrentVersion.
4
To change the name of the organization, in the right pane, double-click RegisteredOrganization. In the string Value, enter the new name. Select RegisteredOwner, if you want to change the registered user name. Also, double click, call the string "Value" and change data.
5
Each computer network has a unique name that you can identify the computer in a workgroup or in a domain. To change this name, too, you need administrator rights.
6
Call the context menu by right-clicking on the icon "My computer". Choose the command "Properties" and go to the tab "computer Name". Click "Edit" in the window "computer Name" enter a new value. In the section "Is a member" you can specify which workgroup or domain the computer is part of.
7
Confirm your decision by clicking OK. You will be prompted to restart the computer for the changes to take effect. Press OK to confirm.