You will need
- ceiling tiles;
- - primer;
- - roller for applying the primer;
- - tile adhesive;
- - hard spatula;
- roulette;
- - painting the cord;
- - gloves;
- - soft cloth.
Instruction
1
Select a suitable adhesive. When applying adhesive to the tile and pressing it to the surface is adhesion. If the clutch surfaces is insufficient, the tiles just tear off a layer of whitewash from the ceiling and will fall down. In order to avoid this, choose a water-based adhesive. It may be over-hydrate the lime. This files most often for fixing the tiles to the ceiling becoming the glue of the "Titan", "Time", "Iconset" or "Liquid nails".
2
Glue the plate only at the ceiling, not burdened with multiple layers of whitewash. If you see that in some places the whitewash is already falling off, and the plate to hold on will not. Take a stiff spatula and walk them on the ceiling in some particularly unreliable in your opinion. In some cases, part of the whitewash will have to clean off.
3
With the help of a broom or brush and sweep the ceiling and then flush the entire surface with a damp cloth. Wait until all is dry, apply the primer in one layer and leave it on for the time recommended by the manufacturer of the solution.
4
Using a tape measure and masking cord make marks, so that later on it to stick the tiles. If this step is neglected, you run the risk of uneven supply plate, the ceiling will look ugly and sloppy work. The layout should start from the middle of the ceiling.
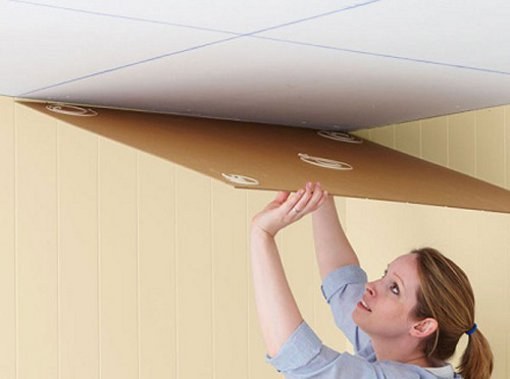
5
To tile it is also the center of the room. Cut the tiles with a knife construction. Take any fragment or whole plate (depending on your markup), apply glue to the edge or point. To cover the entire area does not make sense. Press with a soft cloth or sponge the tile and hold for some time to began the process of adhesion.
6
If you purchased extruded or injection molding a tile, then it has violated a geometrical ratio, and therefore between the elements will remain gaps. To get rid of them, finger joints apply the finishing putty.