You will need
- - sealing wax;
- - capacity for melting;
- - wooden stick;
- printing;
- - fat.
Instruction
1
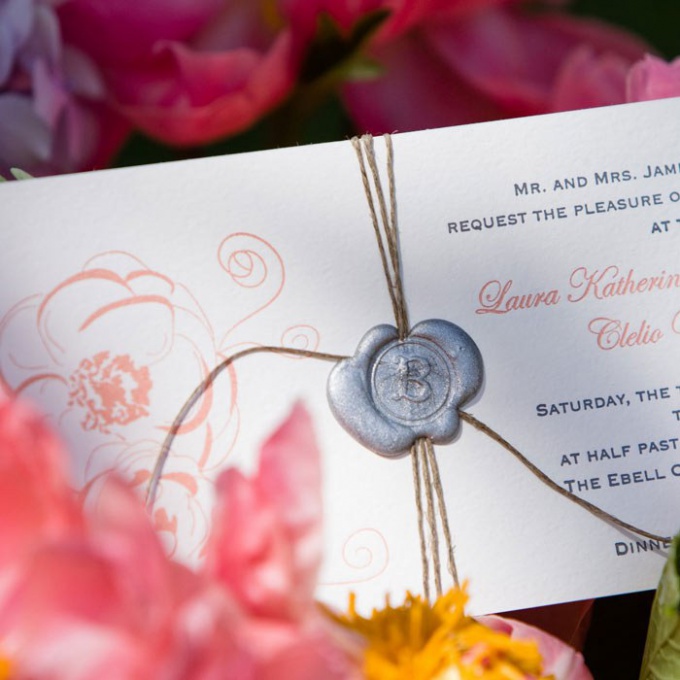
The wax is painted a mixture of resins. On sale occurs the lump of wax with a wick in the granules. Before all the wax seal was only a brown color, and now the industry is pleased with the many shades. Sell ready-made kits with wax sticks for making wax seals.
2
Melt the wax on low heat in a metal container, stirring with a wooden stick, but do not boil. For heating sealing wax sell special heaters – surgeoncy. At home to melt the wax to the consistency of sour cream at any metal household items (in Turku) or in adapted containers.
3
Check the quality of material by using the droplets of molten wax on the metal surface: it must not spread out. To improve the quality of the wax in the hot mass, you can add dye or some essential oil.
4
Remove the wax from heat, let it cool slightly, and then make a print - carefully pour the cooling wax place print and attach for a couple of seconds on top of a special gift print with brass (cream) that is sold in stores. Is store you can use the interesting pieces of home storage plastic button or metal leg, which had stood in jeans.
5
Lubricate the seal with grease to it when the print did not stick to the wax. Fat (you can use cold water) creates a print original film, which does not allow print to stick together and the wax.
6
Impression do strongly, that the stamp was imprinted clearly. If you have to make a few seals, dip the seal in grease before each imprint on the wax. Take away the stamp from impression fast, but not up and to the side (as the protective film with double-sided tape). If your wax is a little bent after separation of the press, correct it pressed to a flat surface.