Instruction
1
If you're using Windows 7, then the main menu on the "start" button, select "control Panel". When the system panel is open, click the "Sound" will be launched and the component containing the settings for speakers, microphones and some other devices, divided into four groups (tabs).
2
Click the "Recording" tab - it placed icons connected device that uses microphones, and line out. Choose the desired device, and then will become active three buttons at the bottom of this tab ("Configure", "Properties" and "default"). The "Configure" button is not related to the microphone as you would think, it refers to the settings of the speech recognition. And you need the installer opens click on "Properties". These settings will open in a new window with five tabs.
3
Go to the "Levels" tab, set the desired values in the available there the controls, and then click the "OK" button in all three Windows open.
4
If you are running Windows XP, you should run the control panel through the main menu on the "start" button and select a component "Sounds and audio devices". This will open a window with five tabs - click on "Audio". In the section "sound Recording" select the default device, and click "Volume".
5
Set the slider in the "Microphone" of the window to the desired value, and then open the window so lock the front, Pereselkov they click "OK".
6
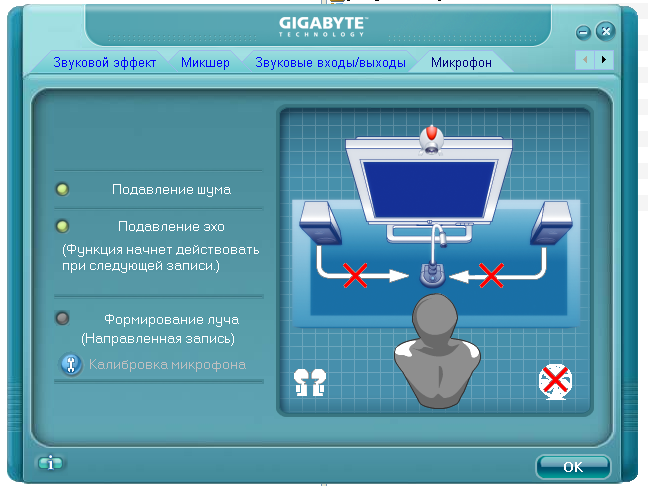
Elements adjust the settings of the microphone is in the drivers independent or integrated into the motherboard sound cards. For example, if you have Realtek HD, then in the notification area on the taskbar should be an icon. By double clicking on it opens the panel Manager devices tab, the Microphone you must adjust the settings of the noise reduction and the spatial orientation of the microphone. On the tab "Mixer", select in the section "device" Entry in the drop-down list and set the desired level of the signal from the microphone input.