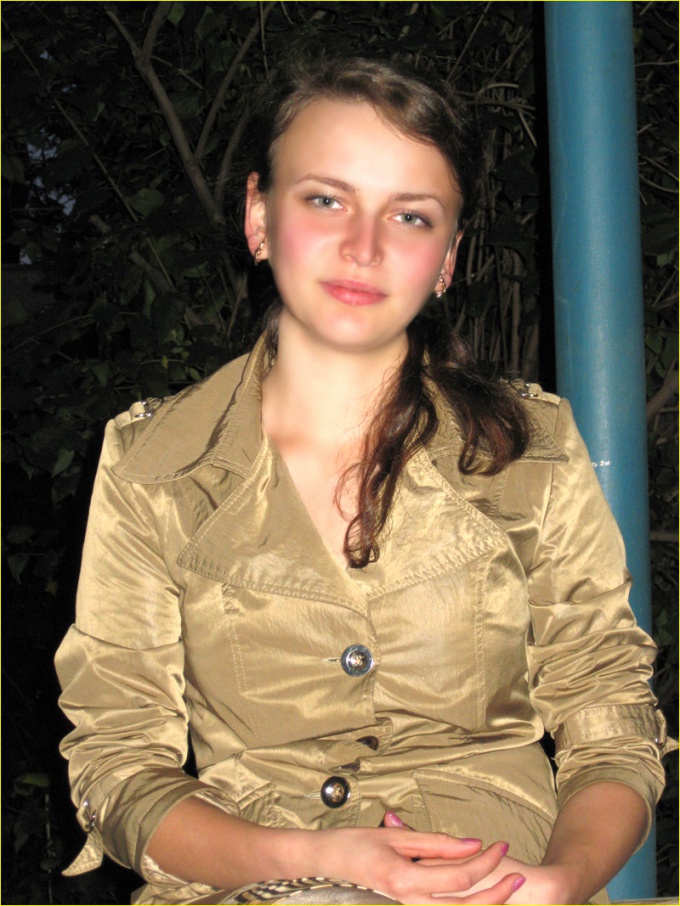
Instruction
1
Open the photo. Make a copy of the base layer Ctrl+J, to prevent damage to the photo during retouching.
2
The a few darkish. To correct this flaw in the main menu, choose the Image points (Image), Adjustments ("Properties") and Levels ("Levels"). In the Input Levels window, move the white slider to the left to lighten the image.
3
On the toolbar, select the Healing Brush Tool the Healing brush). Look on the face clean the skin, hold the keyboard Alt and click the mouse on this site. The tool is characterized by a sample. Hover the cursor over the problem area and click the left mouse button – the program will replace it with a reference fragment. Treat thus the whole image.
4
Now we need to fix the shape of the face and nose. From the menu Filter (Filter) choose the Liquify command ("Plastic"). On the toolbar find the Push Left Tool ("Offset"). Install is not too high values of pressure and hardness to touch-up was neat. When you run the cursor up the image beneath it shifts to the left when you pull the mouse down to the right. Changing the size of the brush, make the shape of the face and nose slimmer. Failed to cancel the action by clicking Reconstruct ("Repair"). Click OK when the result suits you.
5
Now you need to give the image gloss. Make a copy of the layer Ctrl+J. Select Filter, Blur (Blur), Gaussian Blur (the Gaussian Blur). Move the Radius slider up until, in your opinion, are the defects of the skin is no longer visible. Remember this value – in this case, 2.7 pixel. The filter to apply do not – hit Cancel.
6
In the same Filter menu go to the group Other ("Other") and choose High Pass ("Color contrast"). Expose the value that you remembered in the previous step – 2.7 pixel. Click OK.
7
Now apply Gaussian Blur with a radius equal to 1/3 of the value that you memorized. In this case, R=2,7:3=0.9 pixel.
8
Invert the layer Ctrl+I, assign the blend mode Linear Light ("Linear light"), lower opacity to 50%. Hold Alt and click on the icon Add Layer Mask ("Add layer mask" on the layers panel. Choose in the toolbar, soft white brush and paint problem areas on the face and neck, not touching eyes, hair, eyebrows and other precise contours. Merge layers Ctrl+E.
9
Now you need to lighten and darken individual parts of the image. Create a copy of the top layer Ctrl+J. Add an inverted layer mask as in the previous step (Alt+Add Layer Mask). The blending mode assign Screen ("Clarification"), transparency 10-15%. Ensure that the active were layer mask to paint should be on it. Choose a soft white brush and varying the diameter, lighten the forehead, cheekbones and chin of the girl. Swipe a light strip down the center of the nose. Emphasize light reflections on the lips, the hair and under the eyebrows. Merge layers Ctrl+E.
10
Again duplicate the top layer and apply an inverted layer mask. Now the blending mode to Multiply ("Multiply"), transparency 10-15%. White soft brush with the active layer mask, apply the shadow on the model's face on either side of the nose, on the temples, along the cheeks and around the chin. Darken the area around the eyes and lips, emphasize the shadows on the neck. Drain layers.