You will need
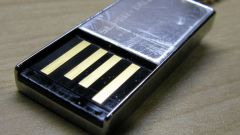
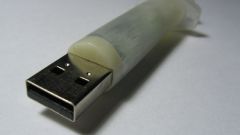
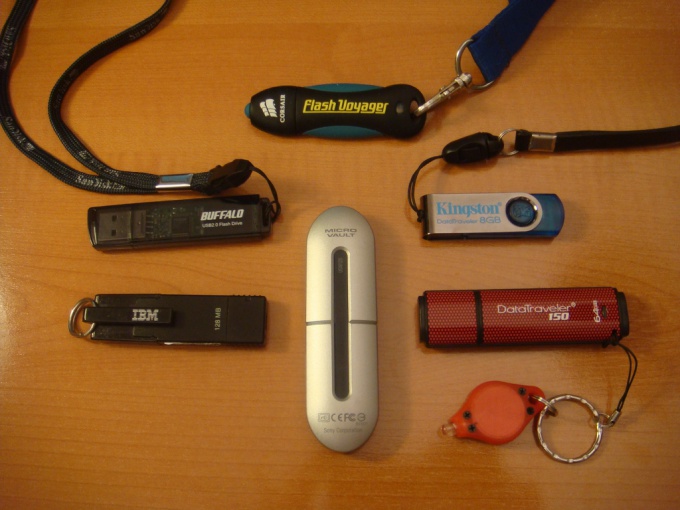
- USB flash drive of more than 2GB;
- - driver Hitachi Microdrive;
- - Acronis Disc Director;
- - FlashbootXP.rar
Instruction
1
Download from the Internet driver hard disk Hitachi Microdrive and extract it to any temporary directory. Open with Notepad the file "cfadisk.inf" and find the section "[cfadisk_device]".
2
Connect the flash drive and go to device Manager (right click on "My computer" - "Manage" - "device Manager" - "Disk devices"). Locate your drive, go to its properties (right mouse button – Properties), click on the Details tab. Copy (Ctrl + C) the contents of the "Code instance".
3
In the section "[cfadisk+device]", replace the value of the last line after the comma in the code you copied instance (insert Ctrl + V). Remove part of a string after a backslash "\". For example, if the string looked like "USBSTOR\DISK&VEN....REV_1.00\7&211312312&0", it all starts after the "REV_1.00" want to erase. Don't forget to save changes to the file.
4
In the properties of the drive, go to the tab "Driver" - "Update" - "install from a list or specific location" - "don't search" - "have disk" and select the modified cfadisk.inf. Make a safe eject it (right mouse button in the "device Manager" - "safely remove") and then reconnect the flash drive.
5
Download Acronis disk director and format the USB Flash in FAT32 format and make active the primary partition of the flash disk by using the corresponding menu item.
6
Turn off the computer. In BIOS, unplug your hard drives, and the option "First Boot Device" select your CD-ROM. Insert a disc with recorded Windows XP in the drive and connect the flash drive. In the menu installation, select the installation on the flash drive without changing FS. After the computer restarts, enter the BIOS to boot from your hard disk but do not disconnect your USB device.
7
Download from the Internet archive FlashBootXP and extract its contents. Start registry editor ("C:\Windows\System32\Regedit.exe"). Select the branch "HKEY_LOCAL MACHINE" and go to menu "File" - "Load hive" at the top of the window. Specify the path to the file "Valek:\Windows\System32\Config\" and open the file "system". In the choice section write the value "123" and right-click on the newly created partition.
8
Select "Permissions" Administrators". In the opened window select the checkbox "Full control" and click "Apply". Go to "Advanced" - "Administrators" and select "Replace permissions on all child...". Click OK and exit the menu.
9
Navigate to the file USBBOOT.reg and click the right mouse button. Select Merge and confirm changes to be made to the registry.
10
Return to regedit.exe. Scroll to "123" and click "File" - "Unload hive". Close the editor and copy files usb, usbport and usbstor folder in your flash drive "Windows\Inf".
11
Turn off the computer again, unplug the hard drive. As First Boot Device select the USB Flash and wait for installation procedure.