You will need
- - access to the administrative panel.
- - basic knowledge of HTML and CSS.
Instruction
1
Edit the site menu, located on a paid hosting, on their own. Edit HTML pages, such as Dreamweaver, the HTML code of the home page and change the order of menu items and their number. Design elements menu change in CSS file (located in the root folder of the site), if the menu button is made in the form of images, delete old images and upload a new. Place them in a folder with images and specify correct path.
2
Modify project menu on the ucoz platform: add and edit sections in the designer "control Panel" > "menu Designer". Standard templates are used to display some code – work with this code in the menu editor. The order of the menus adjust using the mouse.
3
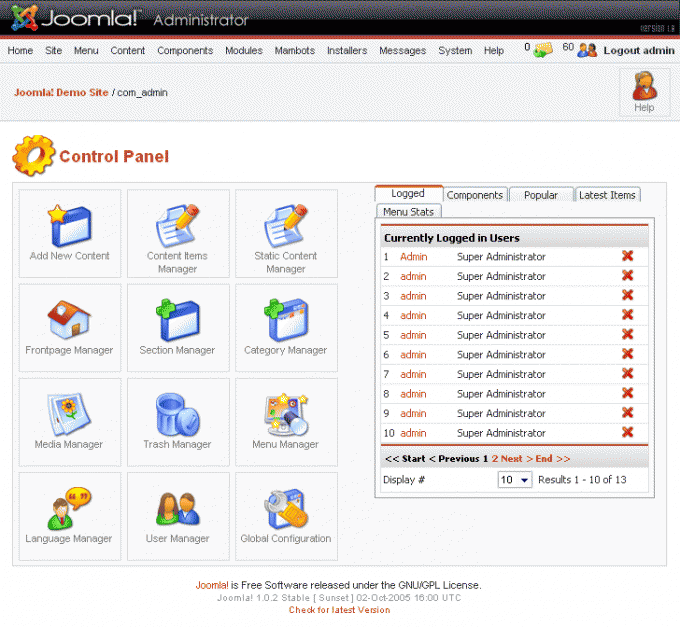
Open the menu Manager in Joomla, it will have 6 items: main menu, user menu, top menu, and 3 the study needed to explore Joomla – remove them. Highlight the section you want to edit, click "edit" and adjust the header and menu items in the editor.
4
Add sections and edit menu of the client site (provided, for example, by the fishup photo service). Select the system edit website under "Personal website" paragraph "Contents of the site". On the opened page, go to the tab "Additional pages" and create new partitions. Then, under "site Menu", add the newly created page in menu. Here edit the names of items and change their order at will.
Note
Note that when modifying the menu using the code on the platform of ucoz editor can replace the elements even in those places where changes are needed. If this happens, restore the former values manually.
Useful advice
Remember that the result of changes in the Joomla platform you will see only after clearing the browser cache (in Mozilla Firefox, select "Tools" –> "Settings" –> "Advanced" –> "Network" –> "Clear cache").
