Instruction
1
To start, try to work with table stand: it is easier to do, but at the same time, it will perform all assigned functions. For the manufacture of microphone stand take a table lamp on the clamp – it has a quite similar design and, therefore, it will be easier to modify. The cost of such lamps is minimal, you'll need your own effort and imagination.
2
Carefully disassemble the dome lamp, pull the wire. It is this part of a table lamp will serve as a holder for the microphone, so we should pay special attention.
3
Then attach the adapter tightly to the threads, which can be bought in any music store for practically pennies. There may be the main problem, as the mounts for microphones are made according to American standard thread, which is measured in inches and has a step, a little different from ours. Due to the fact that the carving does not match, the mount can be screwed only once – after that thread will be ruined. If you want to change the mount, you will probably have to throw it away and buy new, as screwed the mount back will not work.
4
In this regard, very hard to screw on the adapter, which subsequently put the standard MIC mount. Keep in mind that if you have a heavy microphone, and the lamp, you need to pick up more, so she could withstand the load. Otherwise, the microphone may fall under its own weight, then it is likely you cannot use.
5
Secure your rack on the table or in any place convenient for you and get to work. If you did everything correctly, this rack will last you quite a long time. Very cheap and simple option, but reliable enough.
Useful advice
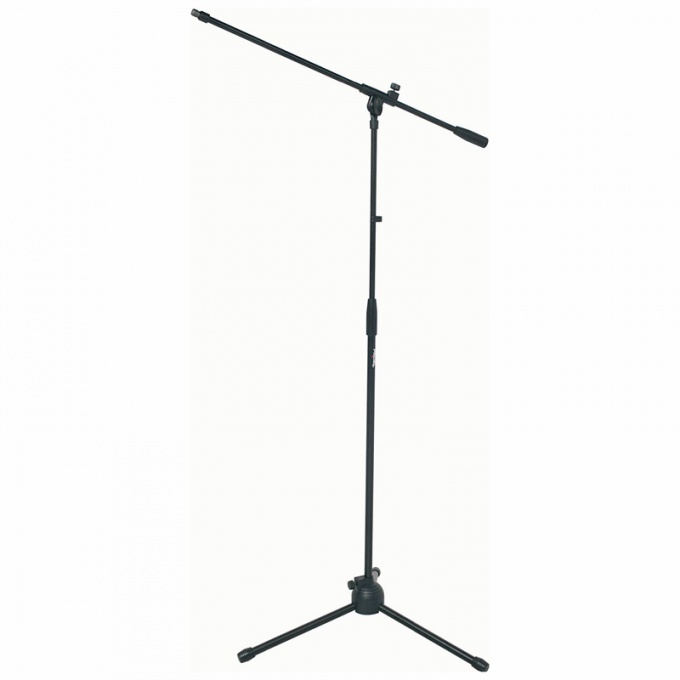
To make a floor stand for the microphone, use regular tripods and mounts for cameras. They are ideal for such purposes, and used by many musicians at home.