Instruction
1
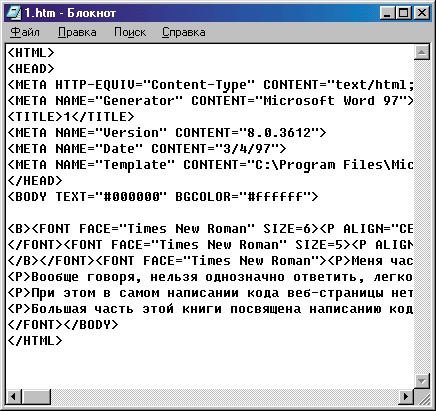
The <html> tag is the main tag of your website – inside it contains all other code, component of your webpage. Code completion is denoted by end tag </html>.
2
Save the text document, but not in text format and in html format – when saving rename the file to index.html. Open the resulting file with any browser – you will see a blank pageon which is printed the title of the site you entered in the previous step.
3
Now you can open the file using Notepad and continue to edit its code to further fill the page. Learn the basic html tags to format the page. The <br> tag use for text wrapping to the line below, and the <head></head> and <title></title> use to define the header of the page. The important tag is <body></body> - it should contain the body of the document.
4
So creating a base page, start to fill it with text. Take any text you want to insert on a website, copy it and paste right after <body> tag in the document. Save the file.
5
Now format the text – break it into paragraphs using the <p> tag and align it with the parameter align with values left, center, right, justify. By default all texts in the HTML left-aligned. Some particularly important points and headings, highlight in bold, the concluding part of the text in the <b>tags</b>. To make text slanted, enclose it in tags <i></i>.
6
In order to make the page look brighter and more attractive, add text to any image. Select the appropriate picture or photo, reduce it in any editor and store it in a file folder for future site. Enter the tag <img src="picture.jpg"> the location in your code where you want the illustration. Instead of a picture enter the full name of your saved picture. If desired, align the image using the above-described parameter align. Save the document and open it in a browser to make sure that the image and text appear on the page.
