Instruction
1
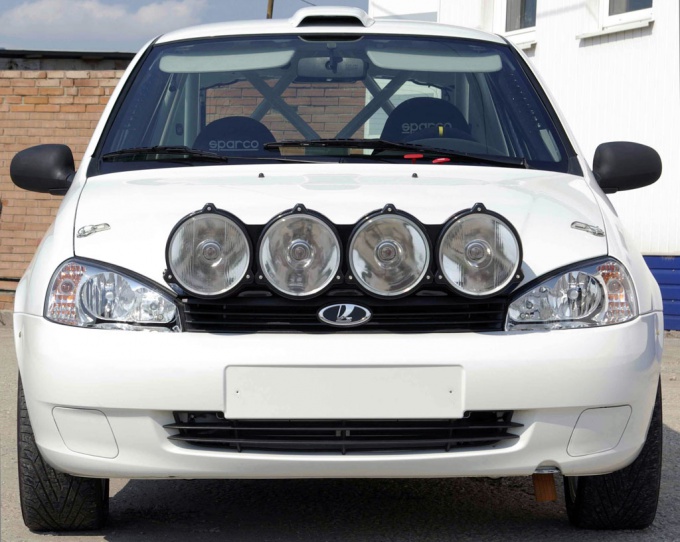
When installing remember that the lightsthat you will install should not interfere with the access of air to the radiator and does not stand for the dimensions of the car. Try to install them symmetrically relative to each other. Don't put fog lights higher than the low beam. Prepare a ruler, pliers, screwdrivers and wrenches. You will also need a drill and set of drills.
2
Open the housing of the headlamp and remove the optical element. This will allow you to avoid damage to the lamp and glass. Carefully note the symmetric space, select them on the surface of the bumper and drill the holes. Treat with ANTICOR of the hole. Attach the headlight housing.
3
Install relay contacts facing downwards to avoid ingress of water, in any convenient place. Remove the cap switch on the instrument panel and install the switch. Now it's all about proper connection of the auxiliary lights. To start, disconnect the positive battery terminal that will provide safety.
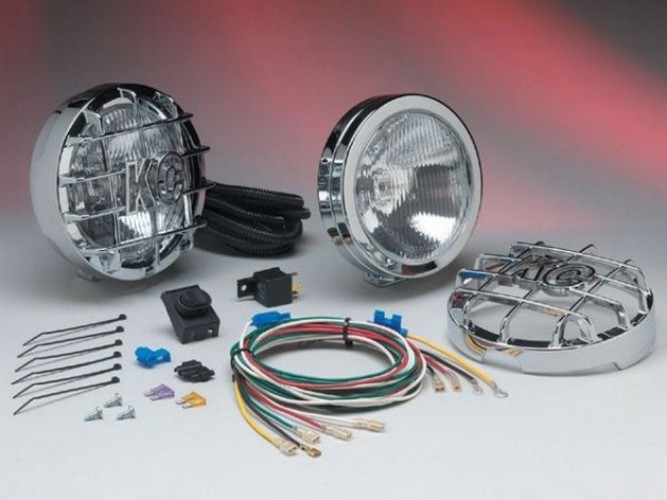
4
Route and connect wires in accordance with the scheme. Use wires of the same size, carefully crimp the ends and check for loose connections. Install a halogen lamp in the optical element. Remember not to touch the bulb with your fingers, not your hands - this will bring up a greasy stain. Hold it by the base with gloves or with a cloth. If you accidentally stained the lamp, clean it with a piece of cloth and alcohol.
5
After that, connect the lamp wires and insert the optical element into its place. Adjust the headlights and ensure they were clean, because dirt absorbs enough light. Do not wash with water or snow lights during operation or immediately after it, it can cause cracks. Always try to have spare bulbs and fuses in case of faults.