Instruction
1
First examined in the wires that stick out from the wall. Most likely, you see the following picture: one three and two two-core wires. On three-core wire into two wires phase and the third zero. Other options are possible, the connection switches is no different. In all cases, the key is the definition of the purpose of each wire.
2
Remember that the switch does not come zero, and the phase where it is broken. And zero must come from the lamp. The switch is always in the gap phase that ensures safety and is also common. If you put it in the gap of the zero – scheme will still be workable.

3
Check for phase and zero on all wires. Screwdriver-indicator often catches the tip with a wire that runs parallel phase. So better do this: take an ordinary incandescent light bulb, screw it in a socket and remove the two wires. Consistently close through all of the wire, and for accuracy record all the results.
4
If your light is half the intensity and also lit the lamp in the kitchen or in the bathroom, etc., then this is the rupture phase in which you want to install the switch. If the test lamp illuminates completely, then you came to the net phase is zero. If it is not lit, then the connection phase-to-phase or zero-zero. Check terminals again check the readings recorded on paper, and try enabling a jumper.
5
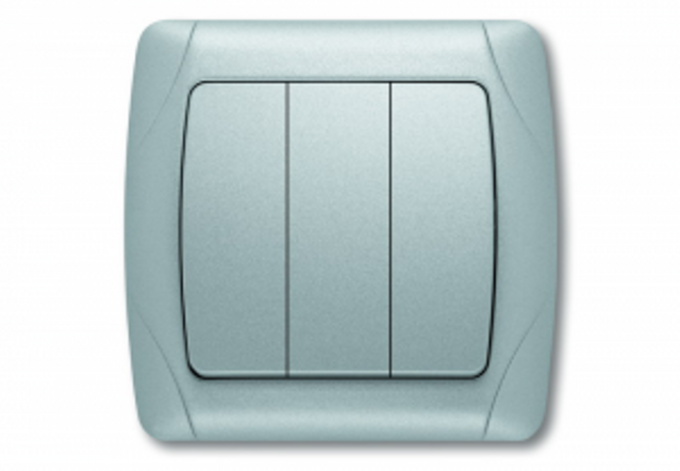
Now deal with the wires. Twin cable going to the two lamps, and three – to the kitchen junction box, there are zero, phase and wire that connects to the lamp in the kitchen. Zero from all lamps should be collected under the screw, which is on the case of the triple switch. Attached to the switch three-phase wire from the lamps.

