
Instruction
1
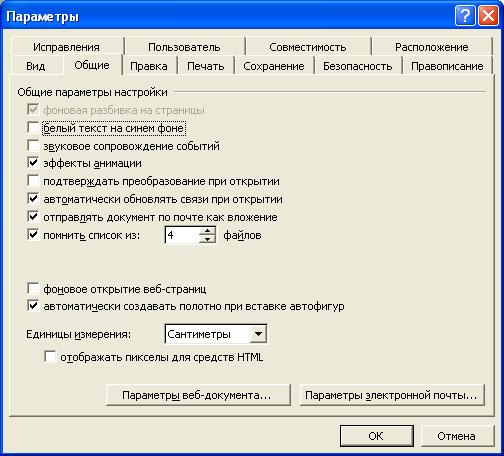
Open a Microsoft Word text document. In the main menu of the application select "Tools" - "Options". Start the service common settings and all its possible modes will appear in a new window.
2
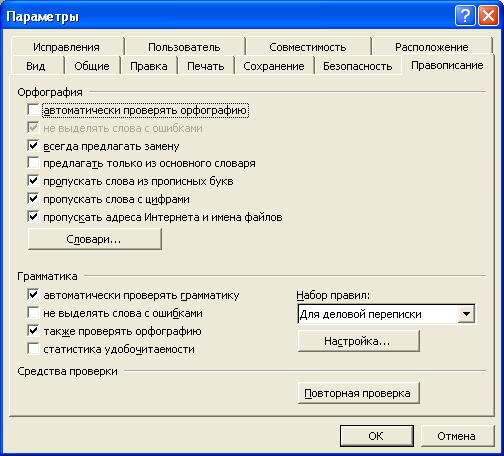
Navigate in this window to the tab "Spelling". Here you will see all the available options for configuration and information about current or disconnected, check the spelling.
3
Under "Spelling", select the check boxes or on the contrary remove them on the elements where you need it. For automatic scanning of a document while typing, check the item "check spelling as you type".
4
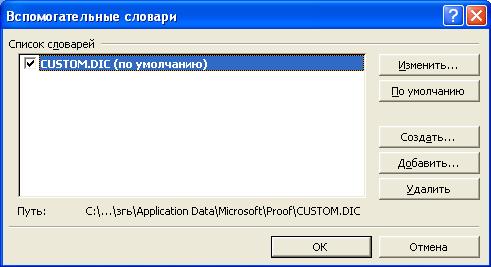
If necessary, set the service check spelling thematic dictionaries. To do this in an open tab of the spelling options, click the "Dictionaries...". Next, displays a new window that lists installed in the application dictionaries. If no you need a dictionary, click in the button "Add". Specify the path and select the file that contains the dictionary. Select the check box in the list added to the dictionary. By pressing the "OK" button turn on the dictionaries in the app to check spelling.
5
In the section "Grammar", check the boxes for all the options check spelling. Select from the drop down list, a Set of rules:" the most appropriate to your document the validation rule.
6
To save all the changes and apply to the current document of the new regime check spelling, click in the "OK" button. Now the document will be checked with the given spelling options.