Instruction
1
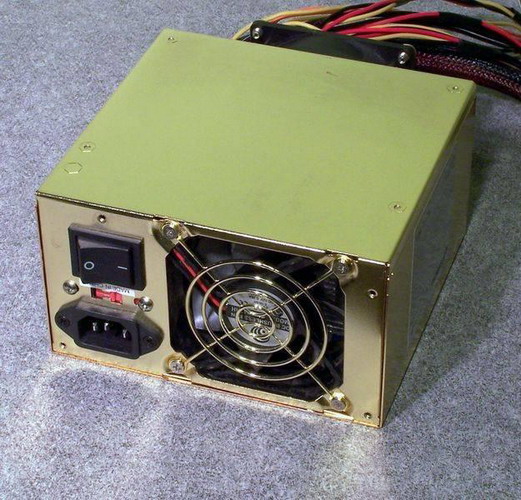
The blocks of powerthat are produced in our days, meet the standard ATX. They all have a standard interface connection to the motherboard of the computer. Before committing to an operation described below, check the standard of work from your unitand power supply. As a rule, this information can be found directly on the PSU. Standard test blockand needs to be ATX. If your block power of another standard (which is very unlikely), then the following method will not work.
2
Carefully review your unit 's power. Note the connector with which it connects to the motherboard, namely at the twentieth pin connector. Here is the contact that triggers the unit power. Now learn more learn this connector. On one side there is a latch, which is connected to the motherboard. On the side where the latch is, you need to find the fourth on the right side of the twentieth contact pin interface (connected to the green wire, very rare wire color may be different).
3
Take a small length of wire, and then remove the insulation from both sides. One end of the wire connect to the fourth pin contact (where the green wire) and the second to any other pin contact on the connector it goes to the black wire. It would be best if you connect to the next, the third pin contact.
4
Then connect the cable power to the unit, then plug it into the network. Immediately after that, the cooler the PSU will start spinning, and the unit power will work. The process works with no load should not be too long. Check all you need (noise level, efficiency unita) and turn off the PSU from the network. It is recommended to use this mode of operation unitand power supply no more than five minutes.