You will need
- Motherboard, laptop, screwdriver "+", thin screwdriver.
Instruction
1
Turn off the laptop, unplug it, remove the battery and all external devices: printer cables, scanner, mouse, Bluetooth adapter etc. Close the lid of the laptop, lay it face down, so that you have access to the bottom surface of the laptop.
2
Remove all attaching bolts using the screwdriver "+". Remove from the body of the laptop is RAM, hard drive, CD/DVD drive.
3
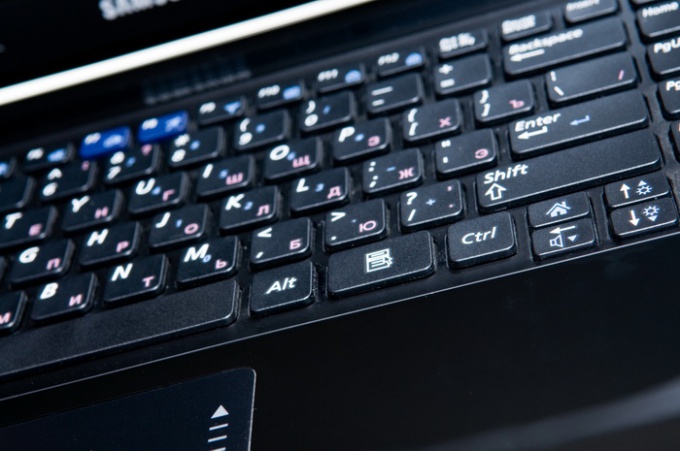
Turn the laptop, drawing the front part of the laptop up. Raise the bar, which is located just above the keyboard, Unscrew all the screws, gently pull out the keyboard, disconnect the ribbon cable that connects the motherboard with the keyboard.
4
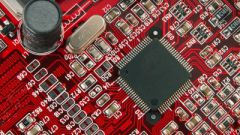
Free from connection any cables which may interfere with removing the motherboard. Unscrew all the screws that hold the screen of the laptop, detach the cover of the laptop from the case. You can now begin removing the motherboard. Carefully inset your system card with a thin screwdriver from several sides not to break the nest.
5
Take the new motherboard, insert it in the body of the laptop. Make all the steps described above in reverse order. When you turn on the laptop press the F1 button, it will first run the motherboard in your laptop.

