You will need
- - spatula
- - cushion
- - cuvette
- - pin
- - plaster
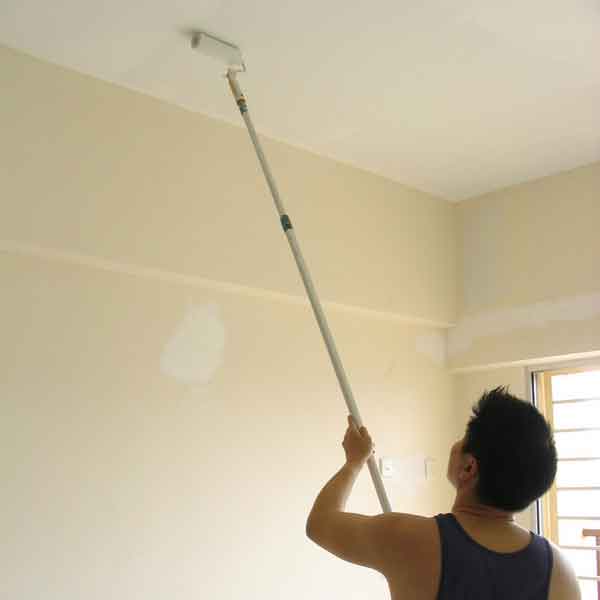
- sealant
- - plaster
- brush
Instruction
1
Decide what repairs you should major or minor. Cosmetic repair of the ceiling will take less time and material costs, and capital will require more time and monetary investment.
2
The ceiling is covered with whitewash, dilute with warm water to the ground. If the putty is held firmly, leave her alone, she will serve as the finish layer for a new painting. If the ceiling pasted Wallpaper, soak them with water and allow to wet. When the Wallpaper is saturated with moisture, remove them from the ceiling, it will not be difficult. If the ceiling is painted with latex paint, and she holds on tight, paint the ceiling a new coat of paint. But if the paint is in some places behind, a ceiling free from latex paint all. To do this, wet it with hot water and allow to soak 20 or 30 minutes. When you see that the paint has darkened and swollen, take the spatula and remove it all without the rest, again, rinse the ceiling with water. Try to wet the ceiling in small patches, so you remove the paint faster.
3
Once you have blurred the ceiling, all its shortcomings will become obvious - cracks, holes, grooves, large chips, bumps. All these defects require repair. This embroidered (i.e. deepen) cracks with a spatula, treat them with soil and fill the base with putty. If the ceiling has a sloppy junction of wall and ceiling, then beat all the plaster with the hammer or chisel, remove the dirt, dust, moisten these with water, but do not allow to dry. Dissolve the dry mix in the proportions as indicated on the package, and seal the joining with this solution. After the plaster allow the ceiling to dry.
4
Don't ignore small cracks around the perimeter of the junction of the wall and ceiling, as well as uprises. If they are not repaired, then after painting these places will look sloppy. In such cases, use acrylic sealer, it is flexible, easily penetrates cracks and painted in any color. Take acrylic sealant and a hand gun, squeeze the filler from the tube and apply a ground to crack. Remove excess sealant with a brush dipped in water. The seam should look smooth and neat.
5
After you complete all of the repairs proscute the ceiling, clean it from dust and re-primed. Let it dry and start the putty. Depending on the complexity of ceiling repair, plaster will be different. If you have made stucco work, the first thing spalite these places basic putty. Let dry, then Prime Proskura and again, this is the technology of modern building materials. Apply the finish plaster on the whole ceiling with a thin even layer. Let dry, then Proskura and clean the ceiling from dust.
6
The final stage of preparation of the ceiling for painting is priming the whole ceiling. Take a foam roller, dip it in a cuvette with a ground laminate with the mesh below the soil evenly distributed over the roller, gradually programsuite the entire ceiling. Strongly do not press on the roller, try to evenly apply a primer to the surface. This work will follow closely, because as you progruntovali the ceiling will depend on painting the ceiling.